Package Python applications with modern tools
Posted on Mon 18 September 2023 in Python
To distribute a Python program so it can be installed by a package manager like pip or pipx, you need to package it and publish it on PyPI. The Python packaging process has evolved since I covered my first experience packaging a Python application several years ago. In this post, I will revisit my usermapper project and re-package it using the modern Python packaging process.
The modern Python packaging tools
The Python Packaging Authority (PyPA) recommends the following packaging tools:
- setuptools is the recommended "backend" for the Python package creation process.
- build provides the "frontend" for the Python package creation process.
- twine uploads packages to the PyPI database so they can easily be distributed.
All of the recommended packaging tools use the pyproject.toml file in a Python project's directory.
Alternative tools
There are many alternative packaging tools available. The other tools all offer additional functionality and some of them automate part of the packaging and distribution process. The Python community does not seem to agree on which is the best tool for most cases, so I will start with the basics and use the tools recommended by the PyPA.
Re-organize the project
I re-organized the files and directories in the usermapper project directory so that everything aligns with the packaging conventions recommended by the PyPA.
I cloned the original usermapper project to my PC from my GitHub repository:
$ git clone https://github.com/blinklet/usermapper.git
The project, organized around the older way of packaging Python programs, had the following structure:
usermapper
├── config.yaml
├── config.yaml.example
├── LICENSE
├── README.md
├── requirements.txt
├── setup.py
├── test.py
├── usermapper
│   ├── __init__.py
│   ├── __main__.py
│   ├── mapperdata.py
│   └── usermapper.py
└── user-mapping.xml.example
Since this is a big change, I started working on a new git branch, named repack:
$ cd usermapper
$ git branch repack
$ git checkout repack
I re-organized Python files in my project directory according to the recommendations made by the setuptools project team:
- I added a docs folder so that I can add project documentation in the future. The config.yaml.example file serves as partial documentation, for now.
- I added a src folder and moved the usermapper package into it.
- I added a tests directory and moved the tests.py file into it. This is a very basic test script. In the future, after I learn more about adding unit and system tests to Python projects, this directory will contain all the test code.
The new project structure looks like the listing below. Using this structure allows me to use most of the default settings in setuptools.
usermapper
├── docs
│   └── config.yaml.example
├── LICENSE
├── README.md
├── requirements.txt
├── setup.py
├── src
│   └── usermapper
│       ├── __init__.py
│       ├── __main__.py
│       ├── mapperdata.py
│       └── usermapper.py
└── tests
    ├── config.yaml
    ├── test.py
    └── user-mapping.xml.example
Create the project metadata
I followed the setuptools documentation and created a pyproject.toml file. This file contains the project metadata and replaces the setup.py and requirements.txt files I previously used.
I opened up a new file named pyproject.toml:
$ nano pyproject.toml
I added TOML-formatted metadata to the file. In the first line in the file, I described the backend tool that the project will use for packaging. In this case, I am using setuptools:
[build-system]
requires = ["setuptools"]
build-backend = "setuptools.build_meta"
Next, I added project metadata, to be used by the PyPI web site when I uploaded the package. Note that, when building, the main thing you need to look at is the version number. If you try to build on top of an existing version, you can get an error.
[project]
name = "usermapper"
version = "0.3"
authors = [{name = "Brian Linkletter", email = "[email protected]"}]
description = "Create a manual authentication file for the Guacamole remote access gateway from a simple configuration file."
readme = "README.md"
requires-python = ">=3.7"
keywords = ["Guacamole", "YAML", "XML", "authentication"]
license = {text = "GPLv3"}
classifiers = ["Framework :: Flask", "Programming Language :: Python :: 3"]
dependencies = ["PyYAML"]

[project.urls]
Repository = "https://github.com/blinklet/usermapper"
Blog = "https://learningwithcode.com"
The next section was critical. It tells setuptools which directories to search for the project code, and which packages in those directories to include in the build. In this case, I only had one package but you might have more in a project. It also tells setuptools which directories to exclude from the build.
[tool.setuptools.packages.find]
where = ["src"]
include = ["usermapper*"]
exclude = ["tests", "docs"]
Finally, the console scripts table sets the name that will run the package in the command-line interface. This replaces the need to have a __main__.py file in the package directory but I want to keep it around, for now, until I get my tests working. The __main__.py file lets me run the package from the usermapper/src directory with the python -m usermapper command when I am developing it. It does not seem to hurt to leave it.
[project.scripts]
usermapper = "usermapper.usermapper:main"
I saved the pyproject.toml file.
I deleted the setup.py and requirements.txt files because they were no longer needed.
The final project structure looked like the listing, below:
usermapper
├── docs
│   └── config.yaml.example
├── LICENSE
├── pyproject.toml
├── README.md
├── src
│   └── usermapper
│       ├── __init__.py
│       ├── mapperdata.py
│       └── usermapper.py
└── tests
    ├── config.yaml
    ├── test.py
    └── user-mapping.xml.example
Build the package
The project was now available as a source distribution and I could have stopped here and told users to install it from my GitHub repository. However, I wanted users to be able to install this package from PyPI.
To prepare it to be uploaded to PyPI, I had to convert it into a distribution package. To create the distribution package, I first created a new Python virtual environment so I could install the wheel and build packages:
$ python3 -m venv .bld
$ source .bld/bin/activate
(.bld) $ pip install wheel
(.bld) $ pip install build
In the same directory where pyproject.toml is located, I ran the build module:
(.bld) $ python3 -m build
Successfully built usermapper-0.3.tar.gz and usermapper-0.3-py3-none-any.whl
I saw a new directory called dist in my project. It contained the two distribution files:
dist
    ├── usermapper-0.3-py3-none-any.whl
    └── usermapper-0.3.tar.gz
The tar.gz file is a distribution package, which is really just a compressed archive of the source distribution. The .whl file is a built distribution, also known as a Wheel. The pip package manager can install from either distribution format but, if a wheel file is available, it will prefer it.
After I finished the build, I deactivated the build virtual environment and deleted it (because its name is not in my .gitignore file):
(.bld) $ deactivate
$ rm -r .bld
Test the wheel
I tested the new package by installing it from the Python wheel that I had just created. I installed it in a new Python virtual environment to test that it downloads its dependencies when installing.
$ python3 -m venv .venv2
$ source .venv2/bin/activate
(.venv2) $ python3 -m pip install usermapper-0.3-py3-none-any.whl
I test the installed program using my config.yaml.example file as the config file:
(.venv2) $ usermapper -i docs/config.yaml.example
A new file was created called user-mapping.xml in the same directory and it looked the way I expected it to look, so the test was a success.
Also, I ran the test.py program in the tests directory, which tests that the usermapper module can be imported and used in another program:
(.venv2) $ python3 -m test
In this case, there is a config.yaml file in the tests directory and so it is used by default. Again, the program ran without errors and output a user-mapping.xml file.
When I ran a diff of the new user-mapping.xml file and user-mapping.xml.example, I saw see that only the lines containing the random passwords are different between the files. So, the test passed.
I plan to build better tests and continuous integration scripts in the future.
I cleaned up the Python virtual environment I had used for testing, and I deleted the user-mapping.xml file that was created by the testing:
(.venv2) $ deactivate
$ rm -r .venv2
$ rm user-mapping.xml
Commit changes to Git and GitHub
After testing my changes to the package structure, committed the changes to my Git repository and merged the repack branch into the main branch.
$ git add -A
$ git commit -m "repackaged with modern tools"
$ git checkout main
$ git merge repack
$ git push origin
As an extra check, I tested that the package can be installed from the source distribution on Github because this is how my usermapper-web program, the web app that uses the usermapper package, installs it.
$ python3 -m venv .gittest
$ source .gittest/bin/activate
(.gittest) $ pip install git+https://github.com/blinklet/[email protected]
The install worked and a quick test shows that the module is available. So, I will not break any downstream apps that rely on the usermapper package's source distribution on GitHub.
Note that, when testing an install from a Git source distribution, you may need to use the python3 -m usermapper command instead of just usermapper.
Again, clean up the Python virtual environment:
(.gittest) $ deactivate
$ rm -r .gittest
$ rm user-mapping.xml
Configure twine
This time, I decided to publish my usermapper package to PyPI. I created a PyPI account and I configured two-factor authentication.
I installed twine in my Python virtual environment:
$ python -m venv .venv
$ source .venv/bin/activate
(.venv) $ pip install wheel build
(.venv) $ python -m build
(.venv) $ pip install twine
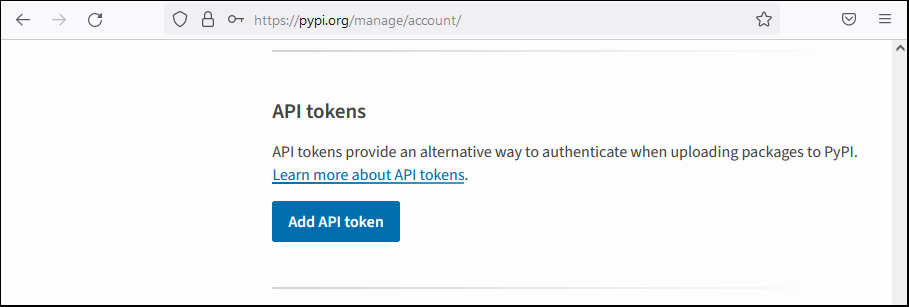
I wanted to upload packages to PyPI without entering a userid and password every time, so I got a token from PyPI. I can use the token to authenticate all future uploads. To get the token, I went to my PyPI Account Settings page and scrolled down to the API Tokens section. I clicked the Add API Token button.
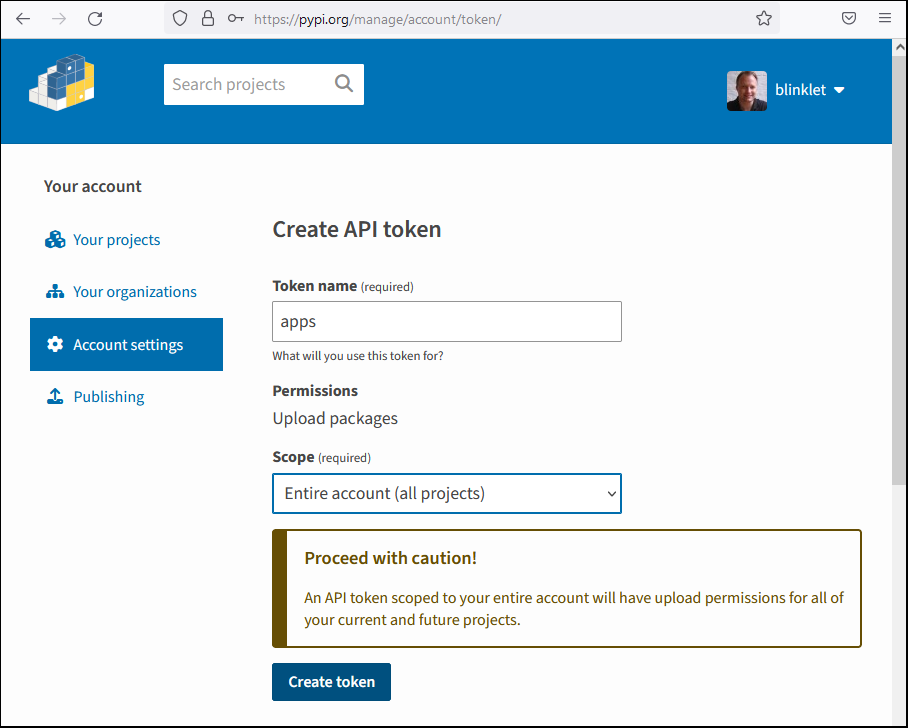
I gave the token a name and selected the token scope.
I copied the token and saved it to my secure password manager.
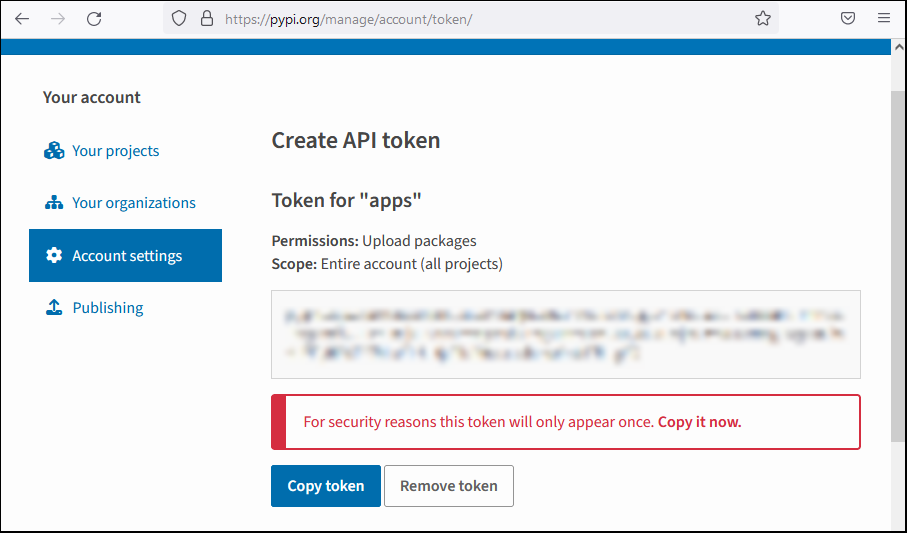
After copying the token to my clipboard, I created a PyPI configuration file named .pypirc in my home directory and added the token to it.
(.venv) $ nano ~/.pypirc
I configured the .pypirc file, using my own token, similar to as shown below (with a fake token):
[pypi]
  username = __token__
  password = pypi-Wd94fakeNr2jvl3LnqfpOOnvfakeO0iEU8LTmWY6ovrEun5Uq3fakeOUmnwX
I saved the file. When I use twine to upload a package to PyPI, it will look in the .pypirc file for the authentication token.
Upload package to PyPI
I used twine to upload the usermapper package to PyPI.
(.venv) $ twine upload dist/*
After uploading the distribution package and the wheel, twine lists the URL of the Package's pag on PyPI. In my case, it was:
https://pypi.org/project/usermapper/0.3/
I viewed the package on PyPI:
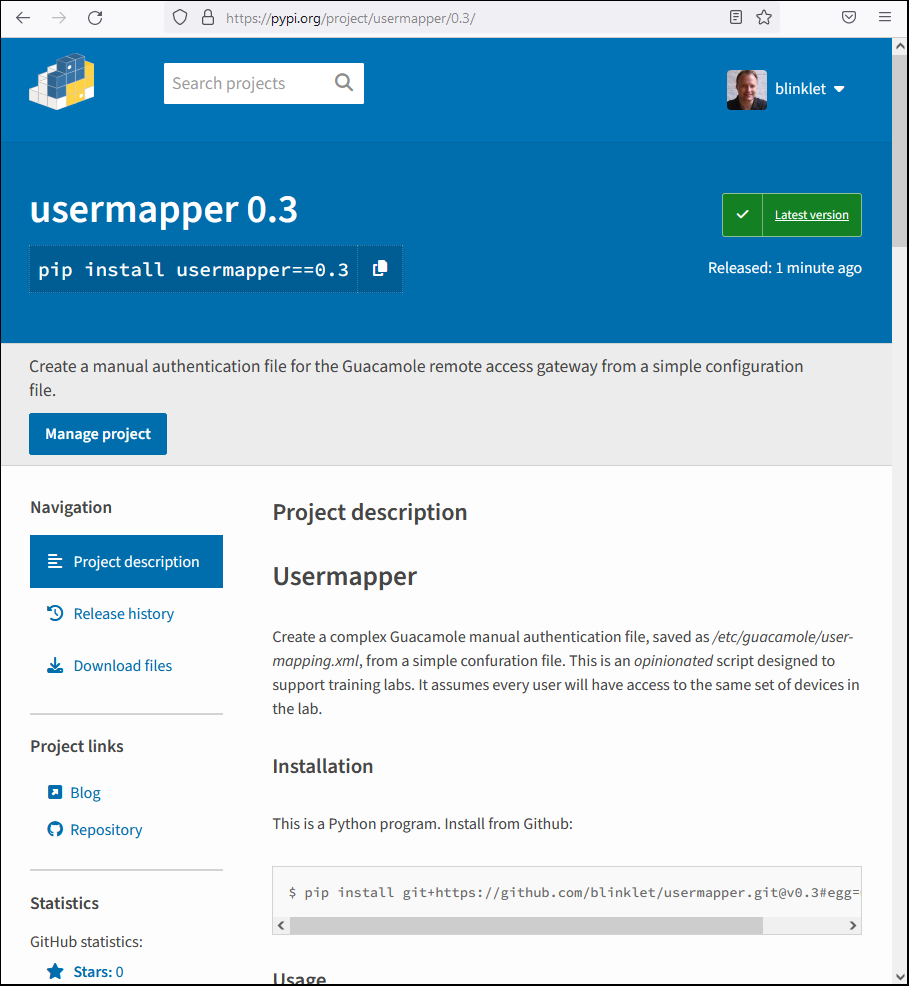
PyPI took the README.md file from my Python project directory and displayed it. I need to make a few edits to the README file now that my package is on PyPI, but that can wait until another time.
Test the PyPI package
I tested that the package can now be installed from PyPI. The current Python virtual environment does not have the usermapper package installed, so I ran the following command:
$ (.venv) pip install usermapper
It installed correctly and I was able to test it. Everything worked.
Now that I was done developing and testing, and had pushed my local changes back to my GitHub repository, I cleaned up my development environment:
$ (.venv) deactivate
$ rm -r .venv
Conclusion and Next steps
I successfully refactored the usermapper Python package to use modern tools. I did not need to change any application code. I moved files and directories around and changed which files are used to define the project metadata.
Now that I have learned the basics of modern Python packaging, I need to learn more about building automated tests and a continuous integration pipeline so I can automatically test and publish the usermapper package to PyPI. This means I will likely explore tools like the ones listed below:
tox is an integrated build and test tool. It's not needed specifically for packaging, but is useful for building a basic continuous integration (CI) pipeline that supports testing your Python package.
GitHub Actions are configurable, automated processes that will run one or more jobs on a remote server after being triggered by some condition. Or, I will look for a more "general purpose" tool that does the same thing.
TestPyPI is the PyPI testing repository. When developing automation and CI, I will use TestPyPI to avoid causing problems in my normal PyPI account. One point to remember: when I test an install from TestPyPI, I must specify --extra-index-url to point to PyPI for the test project's dependencies.
pip-tools contains the pip-compile and pip-sync tools that help you manage dependencies in your Python package. It useful when you need to create a requirements.txt file from your project's metadata or when you need to create a detailed list of all you project's dependencies, including dependencies of dependencies.