Create a local copy of a WordPress blog
Posted on Sat 02 March 2024 in Blogging
This post describes how to use Docker containers to create a WordPress server on your local PC and restore your WordPress backup files to it. This creates a local copy of your site.
Why create a local copy of WordPress?
If you are reading this, you probably run a WordPress server on a hosting provider, like wordpress.com or BlueHost, because you are not, and do not want to become, a WordPress expert. You just want to create a useful content on a professional-looking blog. Your hosting provider handles all the complexity of deploying, securing, and managing a WordPress site on the Internet.
You may, instead, want to build a local copy of your WordPress site on your PC. In addition to acting as a staging site, a local WordPress instance enables you to test restoring your WordPress backup files and how your site will operate on different versions of server software.
My problems
I wrote this post after my other blog, which is a hosted WordPress blog, stopped working due to a server error. Jetpack Downtime Monitoring did not detect the issue so I did not receive any alerts. My blog was down for over a week before I realized it.
The problem was caused when my service provide upgraded the software that supported my hosted WordPress server. After my service provider resolved the issue, I decided to investigate if there were any more potential problems waiting to impact my blog.
In my case, I needed to check the following:
- Do my WordPress backups work? Can I restore my blog to another server if I have to?
- Is my WordPress theme, which is old and no longer supported by its author, supported by later versions of PHP?
- Are the plugins I currently run supported by the newest version of PHP?
The simplest way to test these issues is to use Docker containers to deploy a WordPress server and a database server on my local PC.
Docker works on all major operating systems and makes it easy to run complex server software without having to learn how to install and configure it.
Prerequisites
To create a local copy of your WordPress site on your PC, you need to already have the following available to you:
- Access to the WordPress dashboard on your hosted site. This is available at the wp-admin page on your site's domain. For example:
https://yoursite.com/wp-admin. - Backup files for your site. You need to generate these using a WordPress plugin. I use the UpdraftPlus Backup plugin, which works well and has a free tier of service.
- Optionally, you may have a remote site to which your backup files are copied. I use DropBox and I configured UpdraftPlus Backup to automatically copy my backups to it.
- Docker and docker-compose must be installed on your operating system. Follow the Docker documentation to install these tools on your PC and to learn more about Docker.
Create a local WordPress instance
To create a simple WordPress instance, follow the steps described below:
- Create a Docker compose file named docker-compose.yml.
- Run the
docker composecommand while in the same directory as the docker-compose.yml file. - Connect to the WordPress server running in its container and complete the WordPress install.
Create the docker-compose.yml file
First, create a new directory in which you will create the docker compose file. I named my directory wordpress.
$ mkdir wordpress
$ cd wordpress
Use your favourite text editor to create a Docker Compose file in the new directory:
$ nano docker-compose.yml
Enter the following text 1 into the file:
version: "1.0"
services:
 wordpress:
   image: wordpress:latest
   container_name: wordpress
   volumes:
     - html:/var/www/html
   environment:
     - WORDPRESS_DB_NAME=wordpress
     - WORDPRESS_TABLE_PREFIX=wp_
     - WORDPRESS_DB_HOST=db
     - WORDPRESS_DB_USER=root
     - WORDPRESS_DB_PASSWORD=password
     - WORDPRESS_DEBUG=1
   depends_on:
     - db
   restart: always
   ports:
     - 8080:80

 db:
   image: mariadb:latest
   container_name: db
   volumes:
     - db_data:/var/lib/mysql
   environment:
     - MYSQL_ROOT_PASSWORD=password
     - MYSQL_USER=root
     - MYSQL_PASSWORD=password
     - MYSQL_DATABASE=wordpress
   restart: always

volumes:
 html:
 db_data:
Save the docker-compose.yml file.
This Docker Compose file defined two services named wordpress and db, and two volumes named html and db_data. It defines the containers, the container images that each container will use from Docker Hub, the Docker volume each container will use, and the environment variables to be configured in each container when it starts. You can see that the HTTP port on the wordpress container will be mapped to TCP port 8080 on the local PC.
Run docker compose
Run the docker compose up -d command to start the two containers. Docker will automatically create a network that connects the two containers together and to the localhost IP address on your PC. The -d or --detach option tells Docker to start the containers in detached mode which lets you use the terminal after the containers start.
$ docker compose up --detach
You will see output similar to the following as Docker downloads the specified images and starts the containers and the network:
[+] Running 31/2
 ✔ wordpress 21 layers [⣿⣿⣿⣿⣿⣿⣿⣿⣿⣿⣿⣿⣿⣿⣿⣿⣿⣿⣿⣿⣿]      0B/0B      Pulled    102.5s
 ✔ db 8 layers [⣿⣿⣿⣿⣿⣿⣿⣿]      0B/0B      Pulled                          92.9s
[+] Running 3/3
 ✔ Network wordpress_default  Created                                      0.1s
 ✔ Container db               Started                                      0.8s
 ✔ Container wordpress        Started
You can verify that the containers are running with the following command:
$ docker ps
CONTAINER ID   IMAGE              COMMAND                  CREATED              STATUS              PORTS                                   NAMES
c6845d07b681   wordpress:php7.4   "docker-entrypoint.s…"   About a minute ago   Up About a minute   0.0.0.0:8080->80/tcp, :::8080->80/tcp   wordpress
15916e9cbb0d   mariadb:latest     "docker-entrypoint.s…"   About a minute ago   Up About a minute   3306/tcp
And check that the volumes are created with the following command:
$ docker volume ls
DRIVER    VOLUME NAME
local     wordpress_db_data
local     wordpress_html
Install WordPress
Start your favorite web browser and navigate to your local WordPress server at the localhost address on your PC. Remember, it is available on port 8080. So, the URL is:
http://localhost:8080
This opens the WordPress installation page in the Browser.
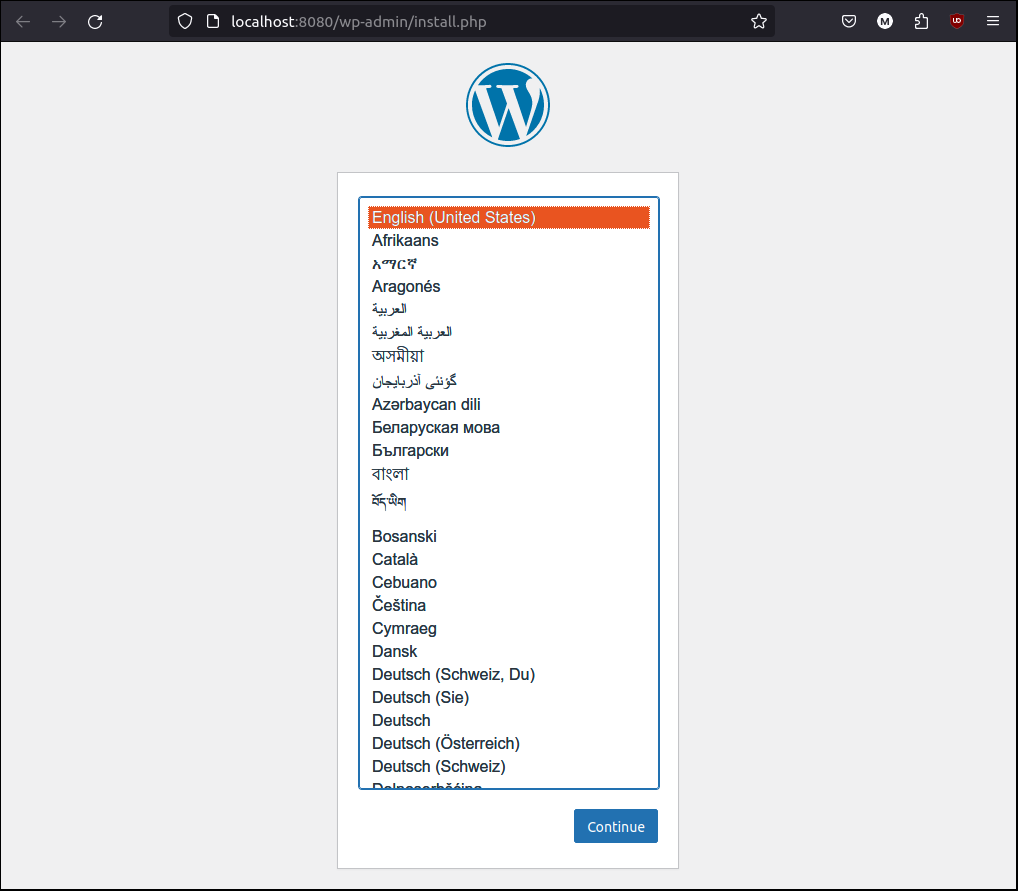
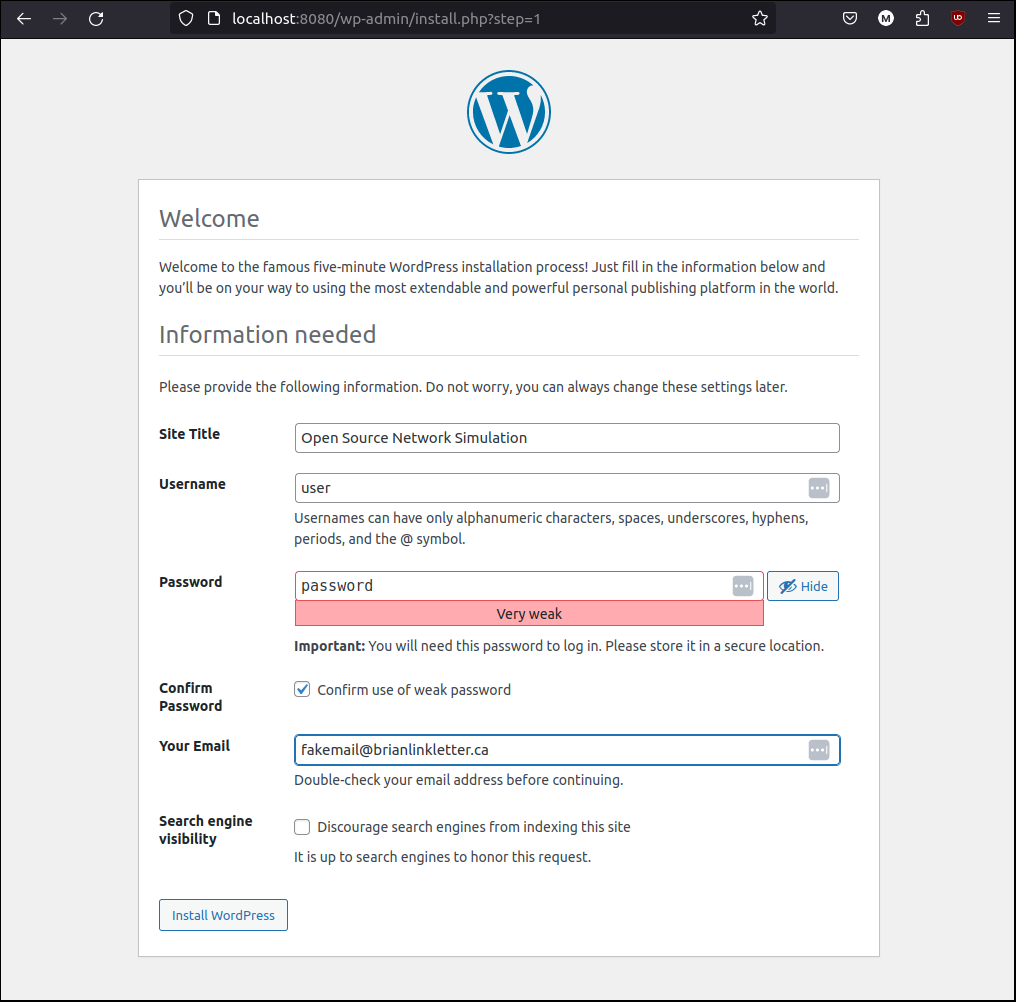
Follow the installation steps. Select your language and click the Continue button. The browser will display a form requesting site information. This will all eventually be replaced by the site information from the copied hosted WordPress site, so just use some temporary information in this form.
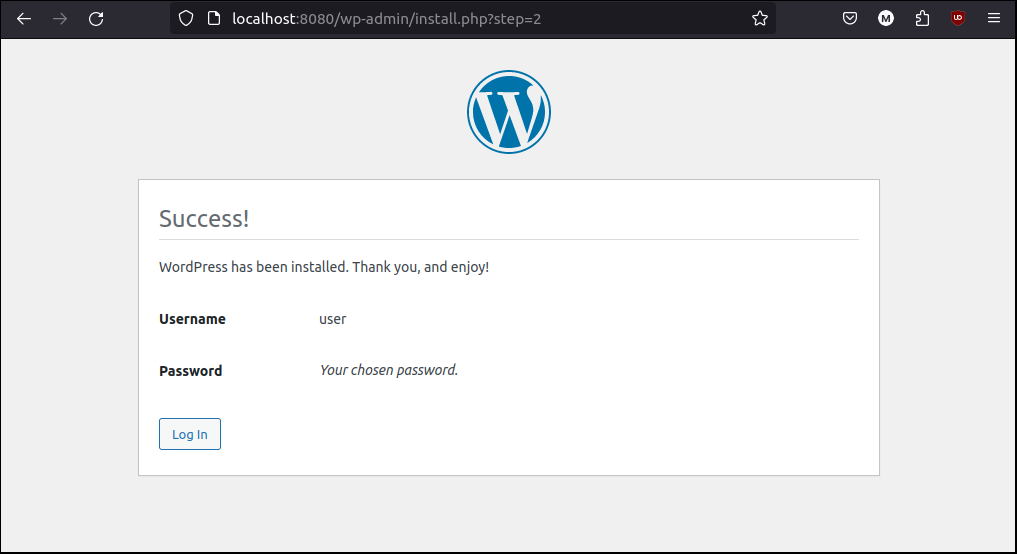
Then, click on the Install WordPress button. The next page asks you to log in. Click the Log In button to proceed.
The browser display the WordPress administration login page.
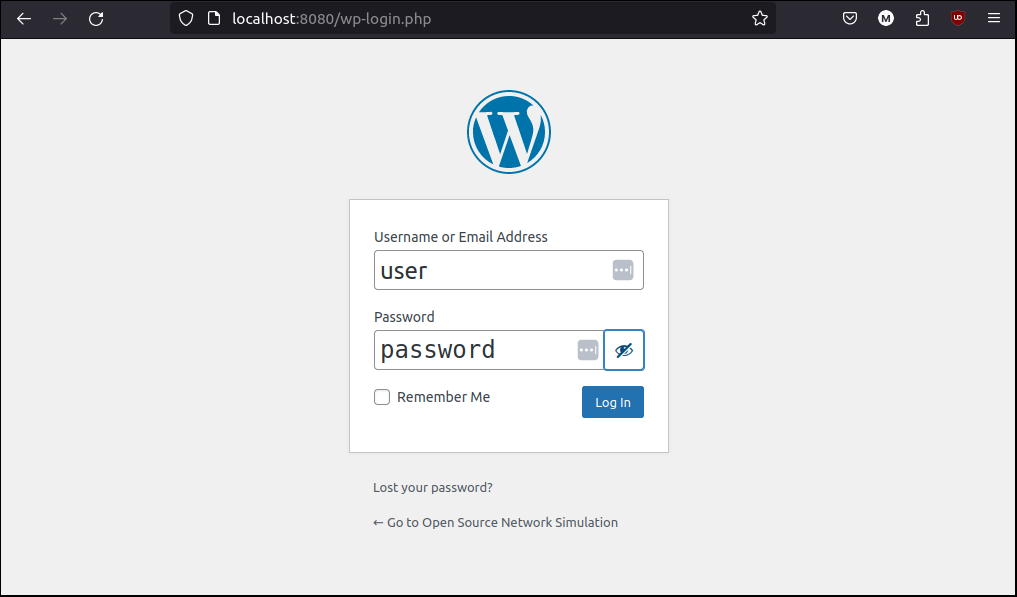
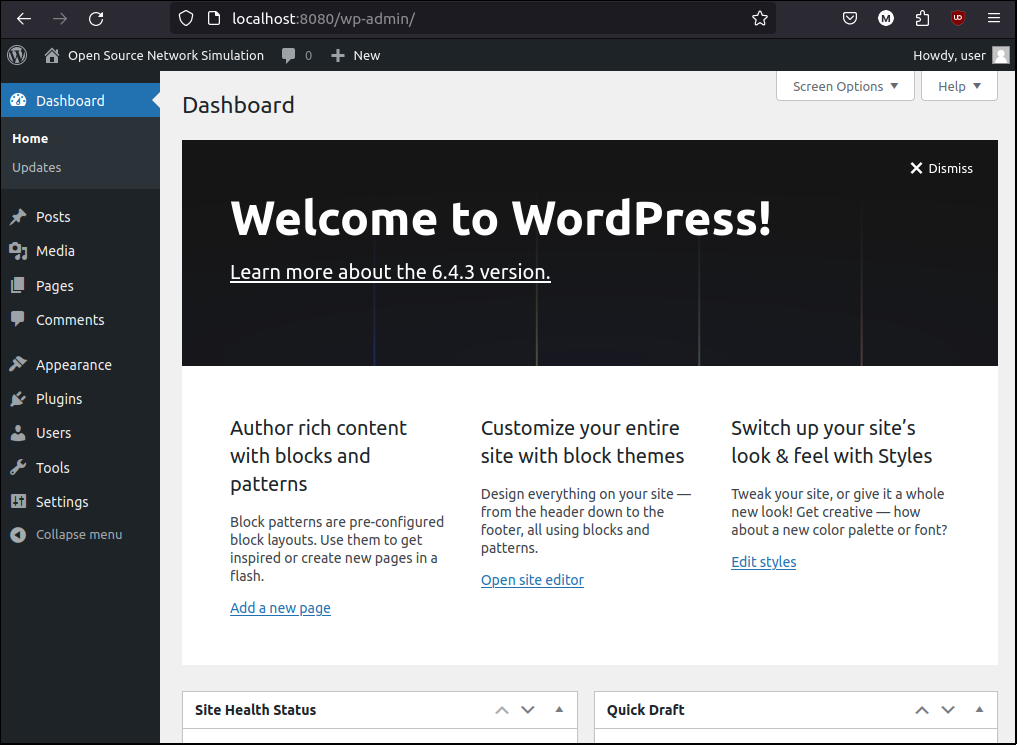
Use the userid and password you configured on the previous page and click the Log In button. Then, you will see the WordPress Dashboard:
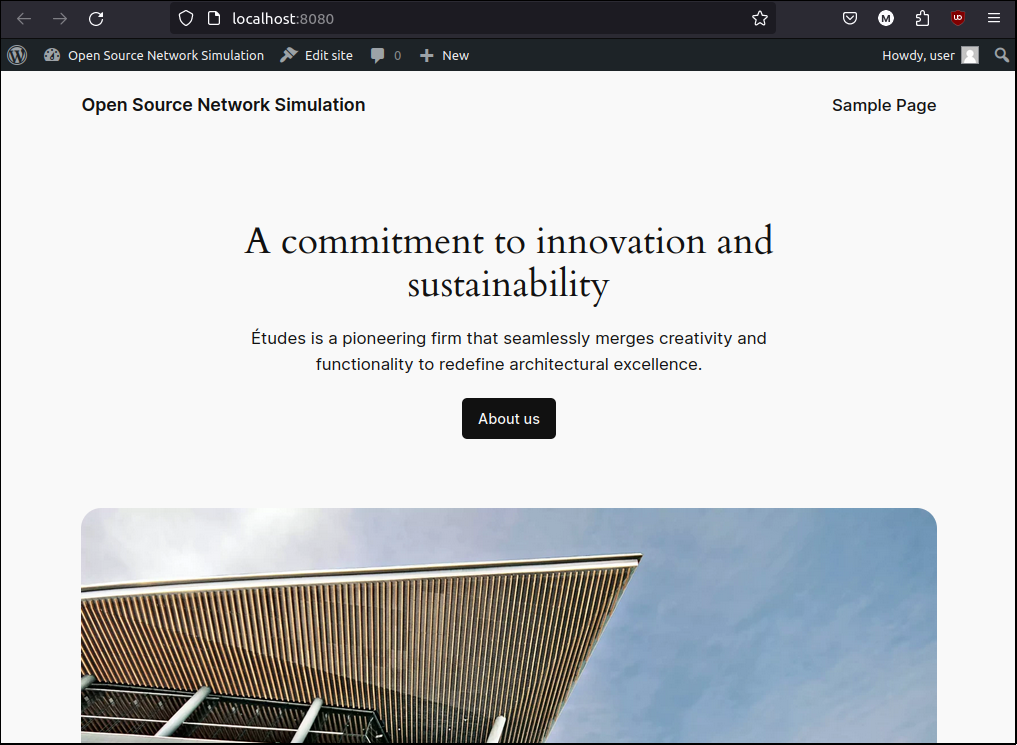
Open another browser tab and navigate to the local website URL again:
http://localhost:8080
You should see a sample page using the WordPress default theme.
WordPress is now running on your local PC. The next step is to copy your hosted WordPress site to your local WordPress server.
Restore backup to local server
There are a couple of ways to transfer data from one WordPress site to another. You could export an XML file from the first site and import it to the other site. Or, you could use a back up plugin to create a backup of your first site and then restore those backup files to the second site. We will use the backup procedure.
To restore backup files to the local WordPress server, you must first install the same backup plugin on the local server as you were using on the remote server. I used UpdraftPlus Backup, but the procedure should be similar if you used a different backup plugin.
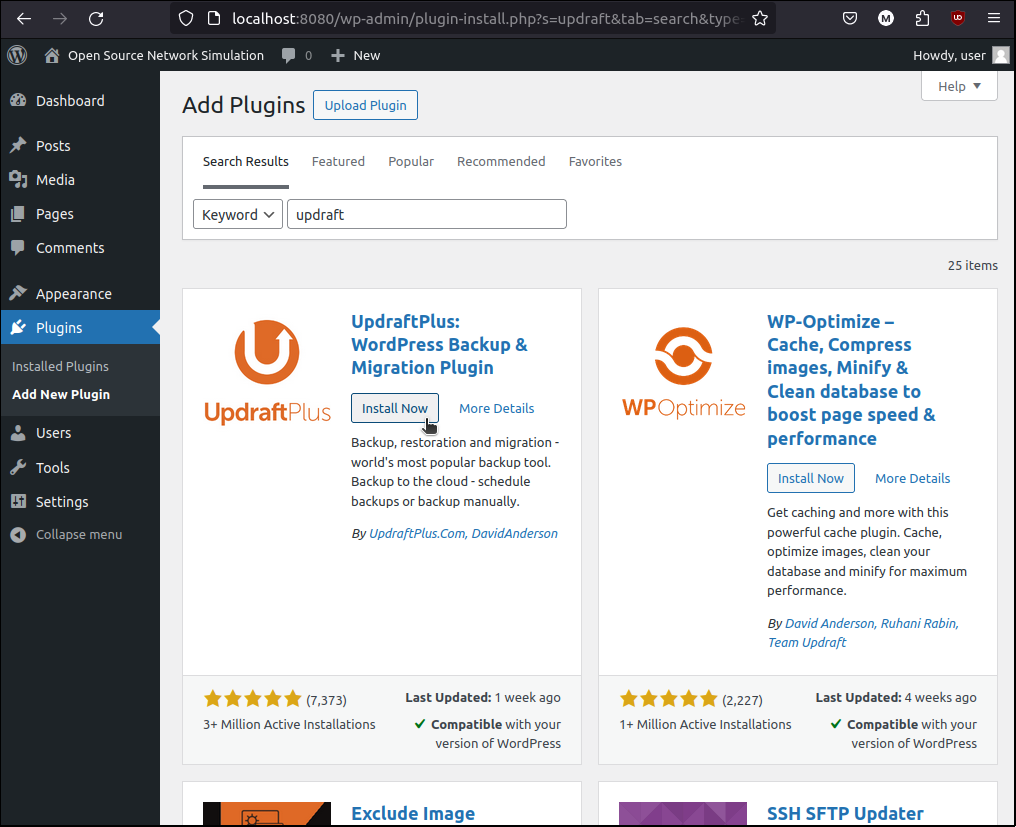
First, install the plugin. In the WordPress Dashboard, select Plugins in the sidebar menu and then select Add New Plugin. Search for your plugin and install it by clicking its Install button.
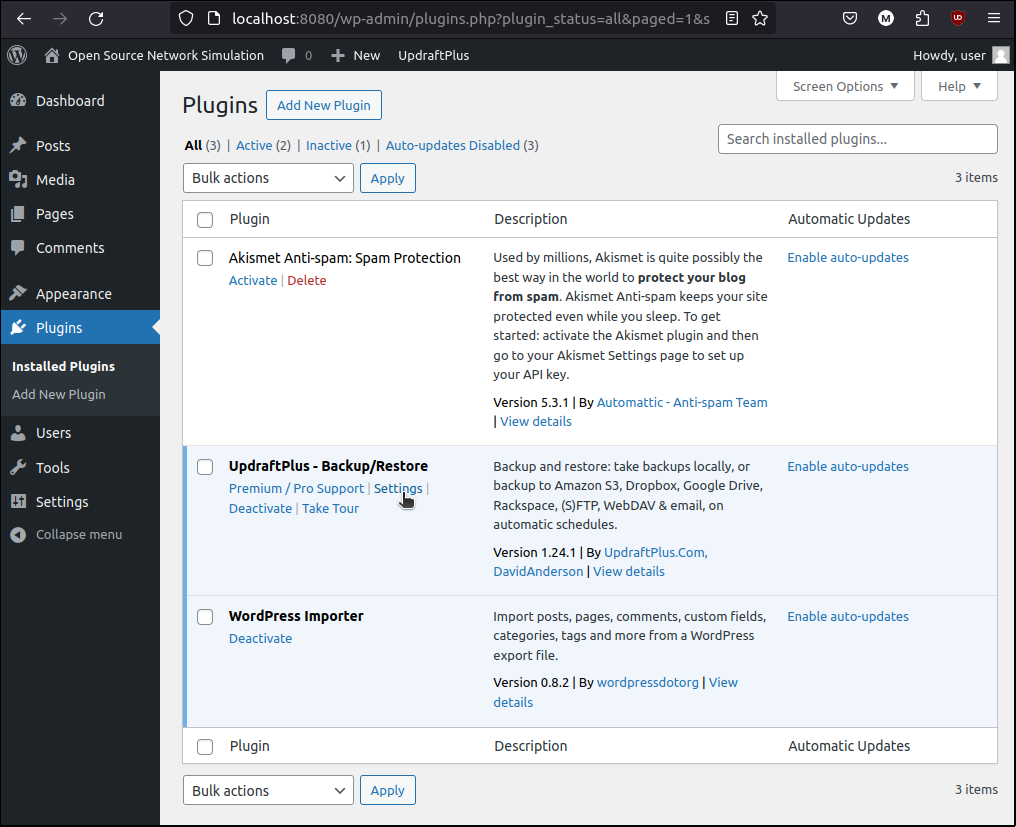
The plugin should be installed. Next, click the Activate button on the plugin to activate it. Alternatively, you can activate the plugin from the Plugins menu item in the sidebar.
Troubleshooting tip: If, when installing a plugin or trying to import a local file, WordPress tries to start an FTP session, you need to modify one of the configuration files to make WordPress use local files.
First, you need to install an editor in the WordPress container. Run the following commands:
$ docker exec -it wordpress apt update
$ docker exec -it wordpress apt install nano
Edit the /var/www/html/wp-config.php file in the WordPress container.
$ docker exec -it wordpress nano /var/www/html/wp-config.phpAdd the following text after the last line in the file:
define('FS_METHOD', 'direct');If you are using nano, press CTRL-X to save the file and exit. This should stop the unwanted FTP dialog from appearing in the future.
Go to the UpdraftPlus plugin settings. Either click on the menu Plugins --> Installed Plugins and then select the Settings link in the UpdraftPlus plugin, or click on Settings --> UpdraftPlus Backups.
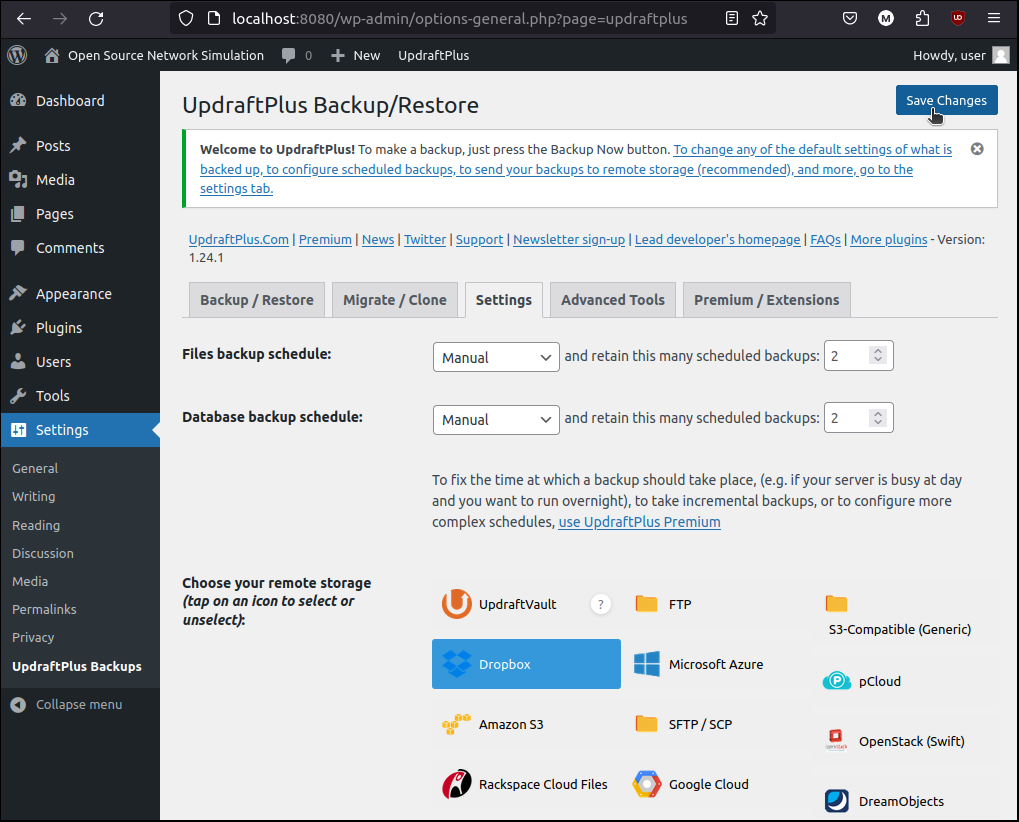
In the UpdraftPlus Backup settings, click on the Settings tab. Then, click on the storage provide that is hosting the backup files generated by your remote WordPress site. In my case, I use DropBox so I selected it from the list. Click the Save Changes button in the top right corner:
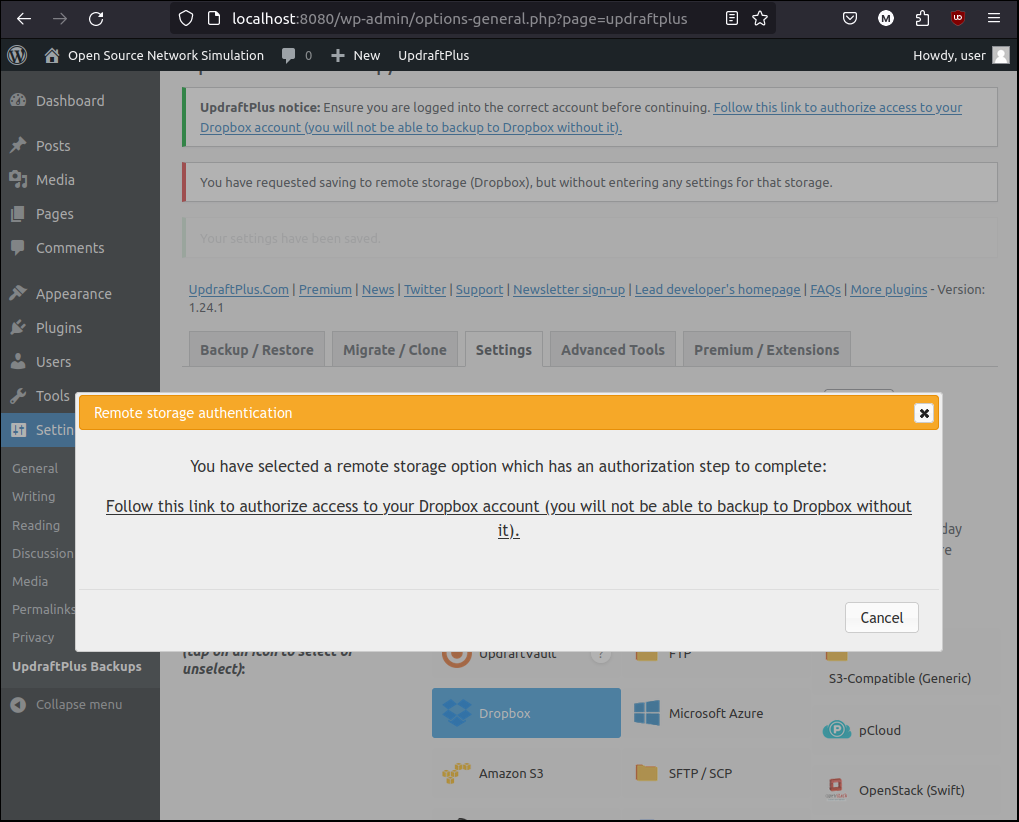
Click on link in the Remote Storage Authentication window that pops up:
This takes you to the UpdraftPlus authentication page. Click on Complete setup button:
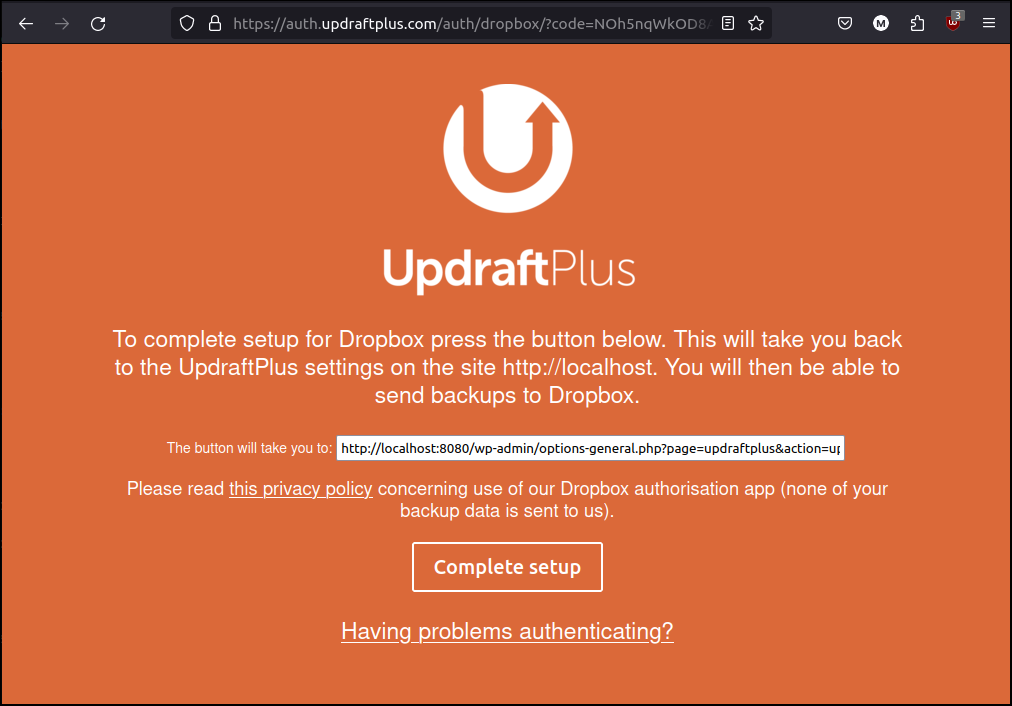
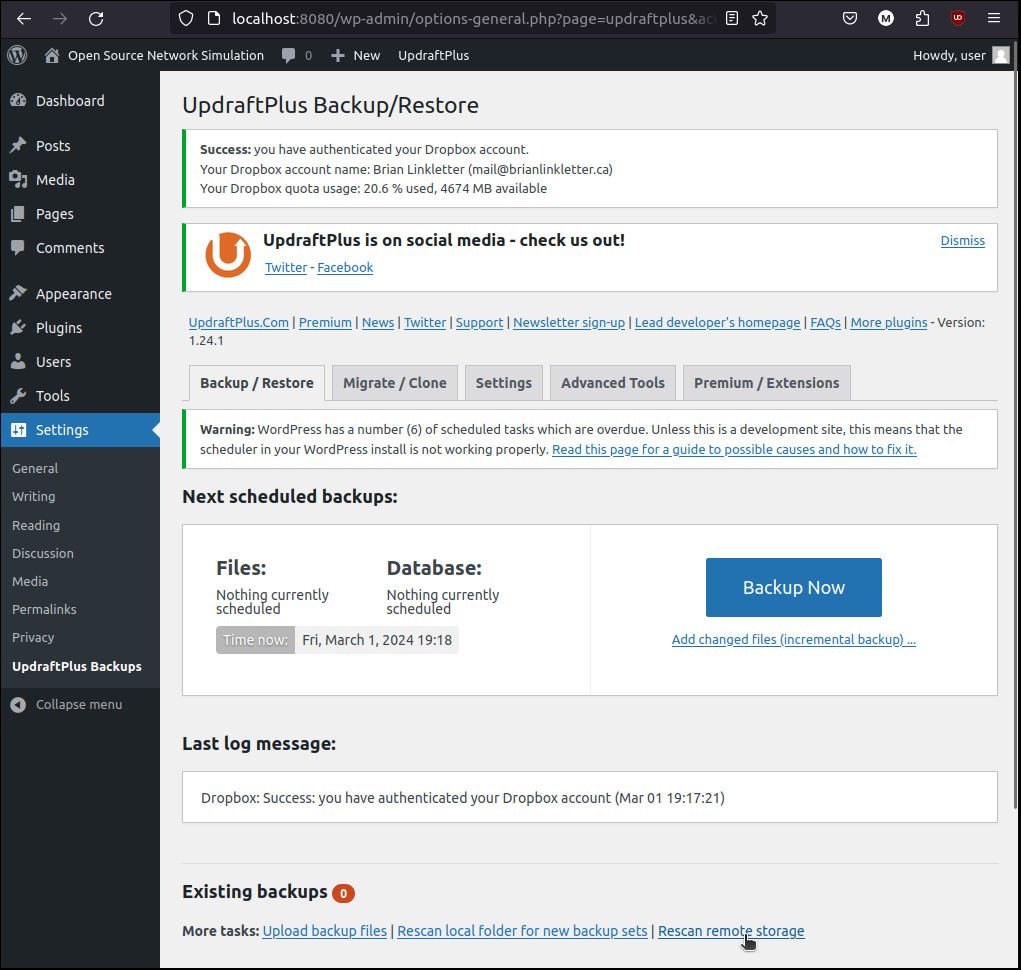
If you are not already logged into the DropBox web site, you will be asked to enter your DropBox userid and password. After you have logged into DropBox, you will be sent back to the WordPress site dashboard page, in the UpdraftPlus Backup Settings page.
Click the Rescan remote storage link near the botton of the Settings page:
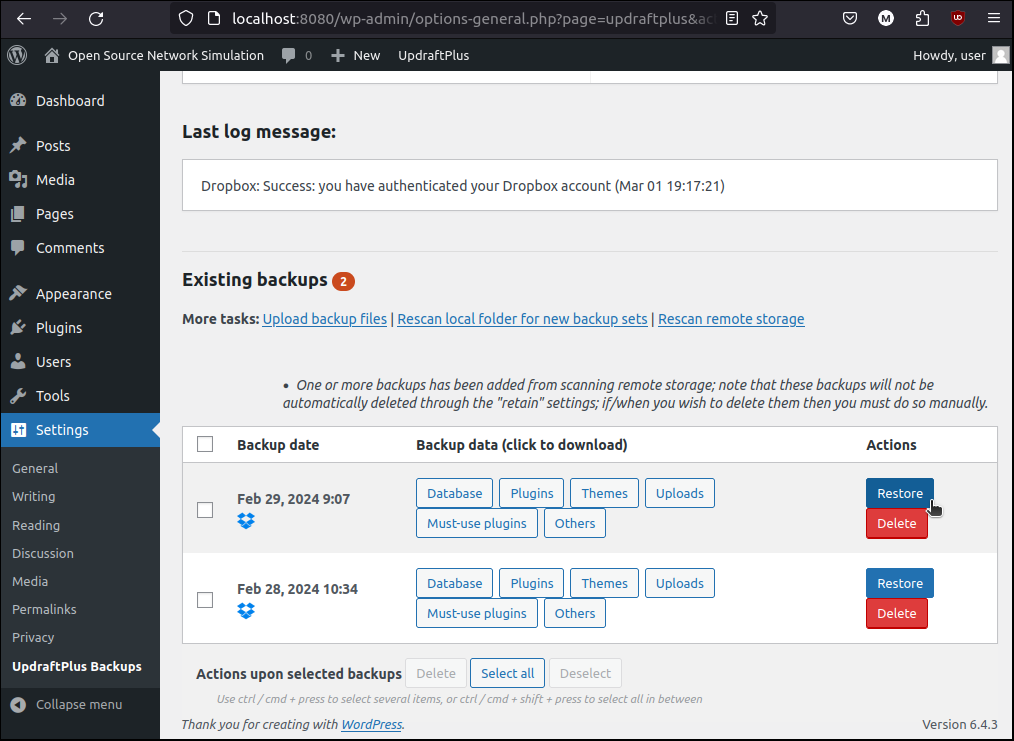
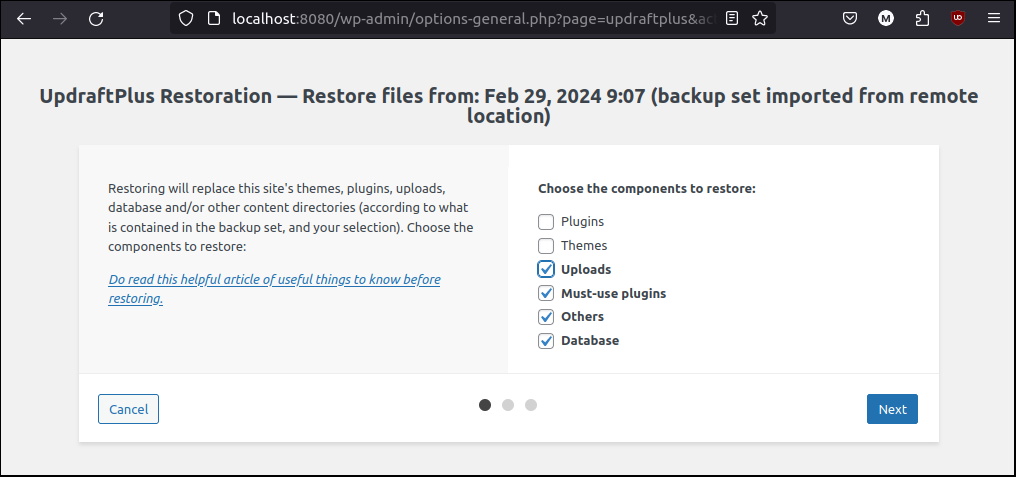
This will generate a list of backups available on the remote store which, in this case, is DropBox. In list of valid backups, pick most recent one. Click the Restore button next to the backup you wish to use:
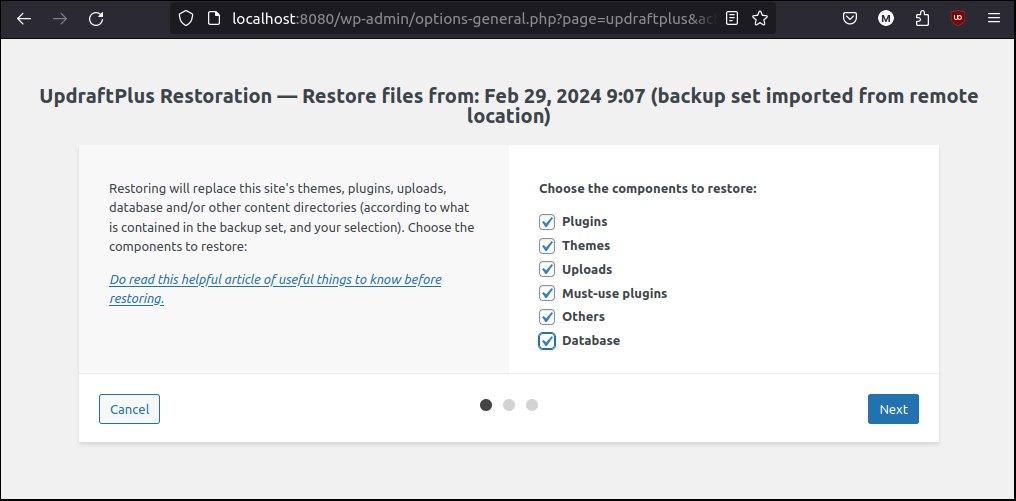
Select all the backup files, then click Next:
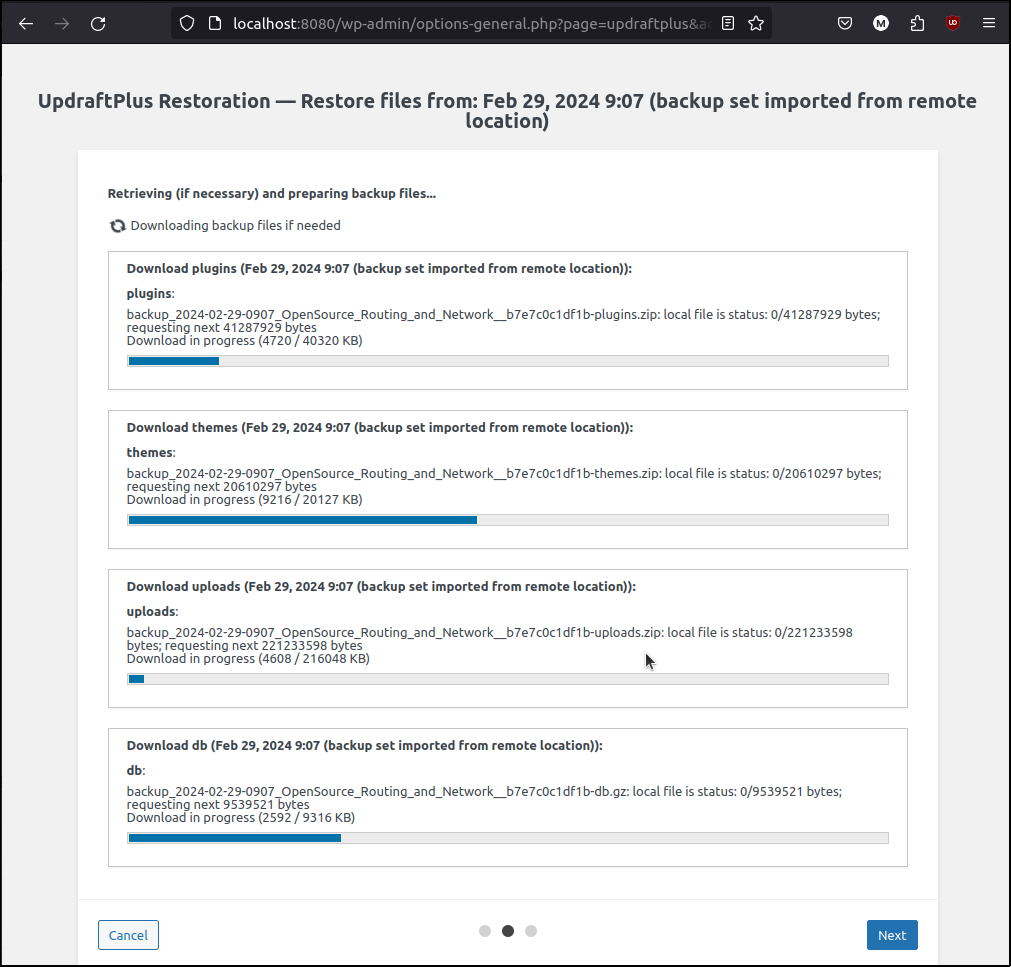
UpdraftPlus will start restoring the backup files to your local WordPress instance. You don't need to click anything in this page. It will finish and automatically take you to the next page:
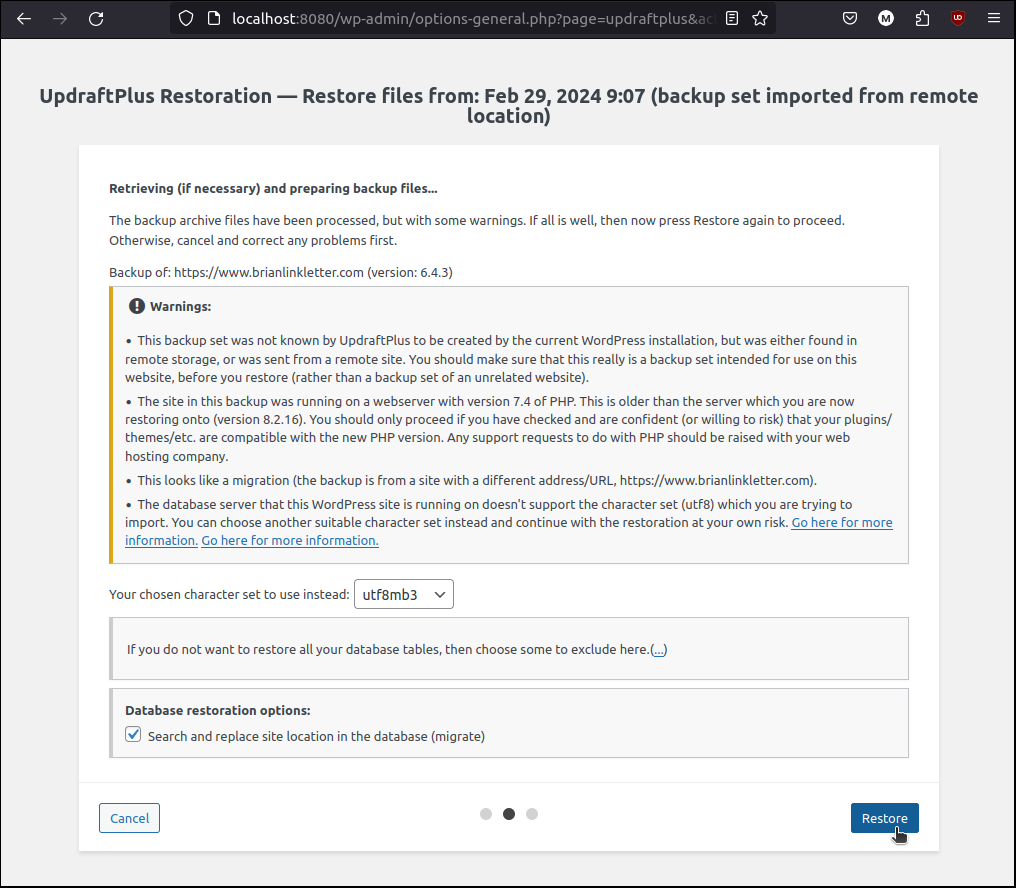
You might see some warnings. Do your best to figure out how to respond. In my case, I just accepted Updraft's recommended solution.
Also, be sure to check the box: Search and replace site location in the database (migrate). Click the Restore button in the lower left corner of the page:
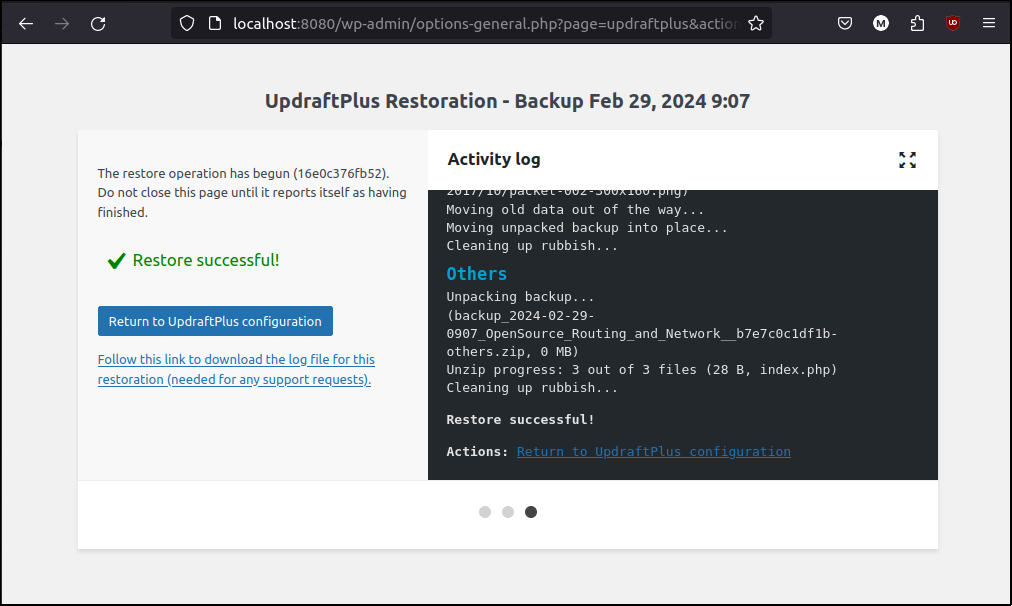
This takes you to the UpdraftPlus Restoration page which displays progress until the restoration is completed. After the database restore operation is succesful, click on Return to UpdraftPlus configuration button:
If everything worked OK, you should be returned to the WordPress Login screen for your site:
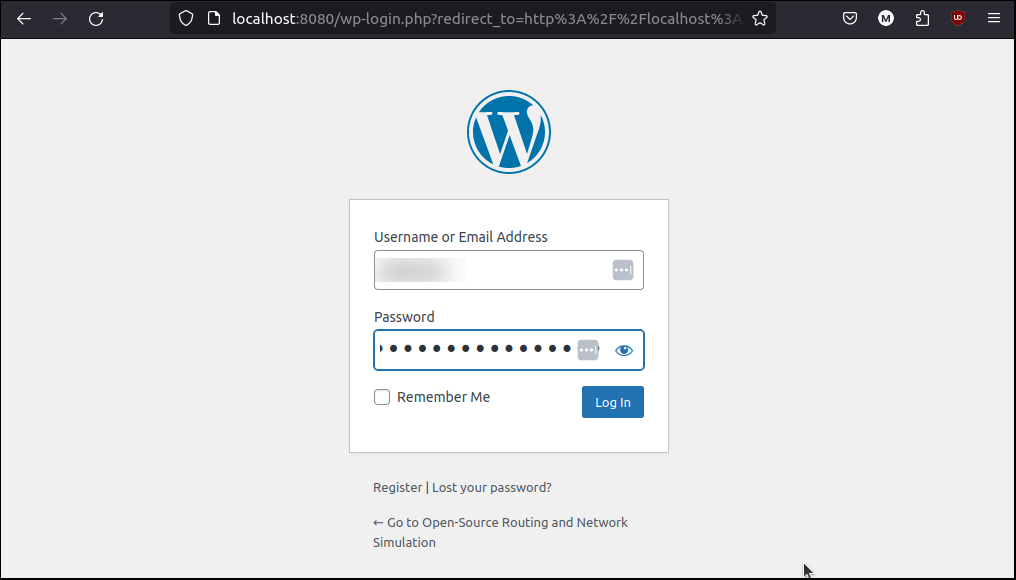
To log in to the local copy of your WordPress site, you must use the same administrative userid and password that you used in your hosted wordpress site. The hosted Wordpress site's user IDs and passwords were copied to the local copy when you restored the backup files from your hosted WordPress site.
Software compatibility problems
Things may not always work the way you expect. The service provider who hosts your WordPress blog might run a different set of supporting software. Some WordPress plugins might not be compatible with newer versions of software.
In my case, my sevice provider runs PHP 7.4 and the latest version of WordPress, version 6.4.1, on their servers. But, if you use the latest official WordPress Docker image, like I did, it will include the latest version of PHP, which is 8.2.
If you are using a theme or a plugin that is not compatible with the latest version of PHP, you might see an error when you open a browser at the URL http:///localhost:8080.
For example, my WordPress blog's theme is old and is no longer supported by the author. I also run an old plugin that the author stopped supporting a while ago. I encountered an error message that suggested both these items, that work fine on my hosted blog running PHP 7.4, caused PHP errors when restored to my local WordPress instance running PHP 8.2.
There are a few ways to resolve errors caused by WordPress components:
- Navigate to the WordPress files on your local server and rename the offending theme and/or plugin directories, or
- Erase your local WordPress and database volumes and start the entire restore process again, but this time do not restore the theme or plugin files, or
- Change your Docker compose file to deploy a WordPress container that uses the same version of PHP as your hosing provider. Then, erase your local WordPress and database volumes and start the entire restore process again.
Fix local files
The easiest way to resolve errors on your local WordPress copy is to connect to the wordpress container and modify the files in its filesystem.
For example, in my case I need to disable the old theme and plugins. To accomplish this, I will:
- Rename the active theme's directory
- Rename the plugins directory
First, connect to a Bash shell in the wordpress container:
$ docker exec -it wordpress bash
You should now be connected to the wordpress container and already be in the /var/www/html/ directory. Go to the wp-content/themes/ directory and rename the directory related to the active theme which, in this example, is named standard-theme:
# cd wp-content/themes
# mv standard-theme standard-theme-old
Then, refresh the browser at the WordPress Dashboard URL: http://localhost:8080/wp-admin. If you see a WordPress login screen, then you have probably solved the issue. If you still see an error, move the plugins directory:
# cd ..
# mv plugins plugins-old
Again, refresh the browser at the WordPress Dashboard URL: http://localhost:8080/wp-admin. If you see a WordPress login screen, then you have probably solved the issue.
At this point you might troubleshoot by re-installing themes and plugins until you confirm which ones caused the errors.
Revert to empty configuration
To revert back to an empty configuration, stop all containers and then delete the Docker volumes. Then, restart the WordPress container and database container:
$ docker compose down
$ docker volume rm wordpress_db_data
$ docker volume rm wordpress_html
$ docker compose up --detach
You will see the WordPress install page again in the browser. Go through the install procedure the same way as before. When you get to the WordPress Dashboard screen again, install the UpdraftPlus Backup plugin again and restore from your hosted site's most recent backup.
This time, choose all files except the theme and plugin files:
After the database restore completes, you should see the WordPress login screen. Use your WordPress blog's administrative userid and password to log in. Then, you may try installing the plugins that did not report errors, one at a time. Once that is complete with no errors, you can confirm if the problematic plugins caused the crash by installing them one at a time. Do the same with the problematic theme.
Replicate your remote environment
You may want to run a specific version of PHP in your WordPress container to get closer to replicating your WordPress blog's actual environment in a local copy. To do this, find an official WordPress docker image that runs PHP 7.4. In this case it is the wordpress image tagged php7.4, wordpress:php7.4.
If you have not done so already, run the docker compose down command to stop and remove the containers. Then, delete the volumes.
Edit your docker-compose.yml file and replace the image, wordpress:latest with wordpress:php7.4.
Finally, run the docker compose up --detach command to start the WordPress instance. This time, it will download the PHP7.4 image and start WordPress based on it. When you log into the WordPress Dashboard you will be prompted to upgrade to the latest version of WordPress. Perform the upgrade. Now, you have a WordPress instance that is closer to your remote server's configuration.
Finish by restoring all the database backup files to the local instance. If the PHP version was the cause of the errors, the local copy of your WordPress site should work now.
Managing the local copy
At this point, you have a local copy of your WordPress blog that you can experiment with. You can try out new themes, plugins, and other configurations.
Your changes persist in the Docker volumes you created so you can stop the WordPress and database servers any time, and then start them again when you want to experiment some more.
To stop the local servers, run the command:
$ docker compose stop
Then, at some point in the future, you can start the servers again:
$ docker compose start
You may use the local copy as a staging environment for changes to your hosted blog. Keeping your hosted blog and your local copy in sync is a topic for another blog post.
Personally, I prefer to use the local copy only to test infrastructure changes like PHP versions and to test database restore procedures.
I do not intend to try to sync up changes I make on my local copy with my hosted blog. For staging purposes, I use the online staging environment provided by my WordPress hosting service.
Conclusion
I used Docker containers to create a local copy of my WordPress blog and was able to use it to evaluate the potential problems in my blog infrastructure.
I tested the backup process I use and, for the first time, restored backup files. I saw that the backup process works well and I am now comfortable with the restore process.
I evaluated the risks of running old, unsupported themes and plugins on my blog. I saw that, if my service provider updated the version of PHP that they use, the old theme and plugins will cause my site to crash. I will now prioritize some time to replace the theme and plugins with ones that are supported and are compatible with the latest version of PHP.
-
The original version of this file is on the developer.wordpress.com blog at the following URL: https://developer.wordpress.com/2022/11/14/seetup-local-development-environment-for-wordpress/ ↩