Add Roll-Based Access Control (RBAC) to your Python Flask web app
Posted on Thu 02 May 2024 in Flask
One crucial aspect of web app security is managing users' access and permissions effectively. This not only helps in safeguarding sensitive information but also enhances the user experience by creating experiences tailored to individual user roles. The Flask-Security-Too Flask extension provides a robust framework for handling common tasks such as user authentication, role management, and permission checks, making it an essential addition to any Flask-based application.
In this blog post, I'll walk you through the process of integrating the Flask-Security-Too Flask extension into an existing web application. By leveraging this extension, I was able to add basic authentication mechanisms and dynamic role-based access controls to my web app by adding only a few lines of code.
The existing web application
This post starts with an existing Flask application. Please see my previous post about organizing a program with Flask blueprints to build the Flask application that serves as the starting point in this post.
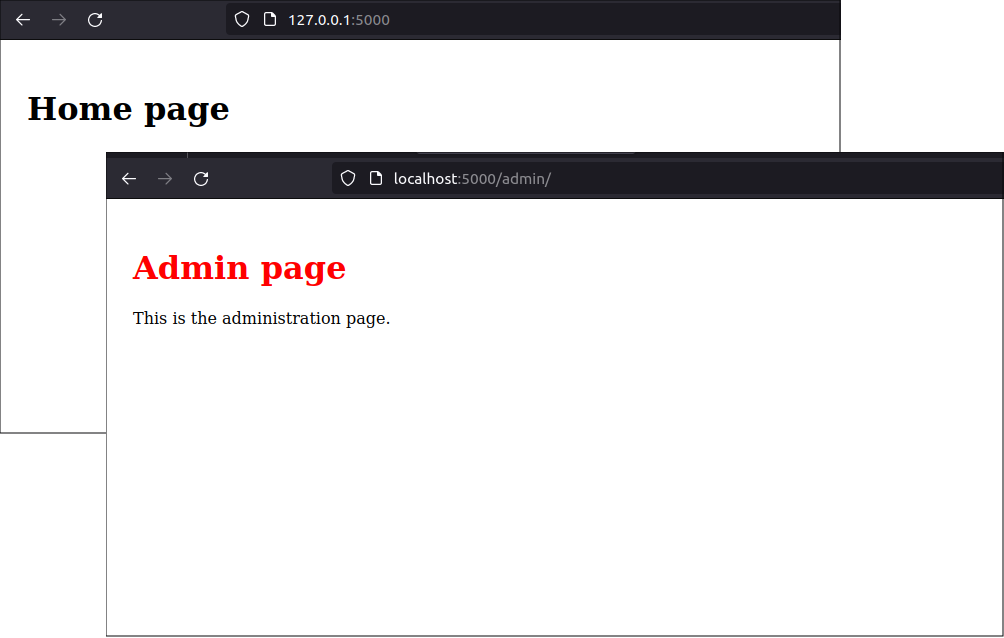
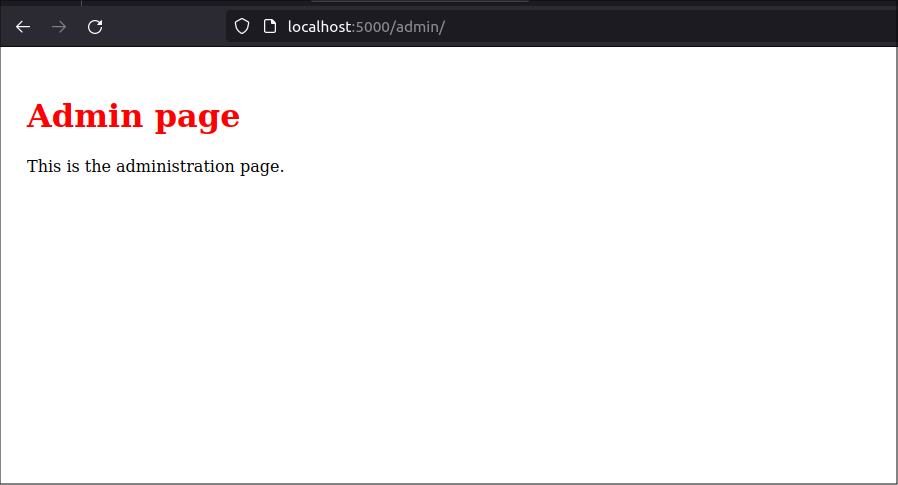
The existing web app is a simple program that uses Flask blueprints to serve up a home page and an admin page. The app is named "mfo" and the file structure of the program is shown below:
music-festival-organizer
│
├── .env
├── requirements.txt
│
└── mfo
    │
    ├── admin
    │   ├── static
    │   │   └── css
    │   │       └── styles.css
    │   ├── templates
    │   │   └── admin
    │   │       └── index.html
    │   └── views.py
    │
    ├── home
    │   ├── static
    │   │   └── css
    │   ├── templates
    │   │   └── home
    │   │       └── index.html
    │   └── views.py
    │
    ├── static
    │   └── css
    │       └── styles.css
    ├── templates
    │   └── base.html
    │
    ├── app.py
    └── config.py
Download initial files
If you prefer to get the project files directly, instead of working through the previous post, download the tagged commit from GitHub, as shown below:
$ wget https://github.com/blinklet/music-festival-organizer/archive/refs/tags/0.001.zip
$ unzip 0.001.zip
$ ls -1
0.001.zip
music-festival-organizer-0.001
$ cd music-festival-organizer-0.001
$ ls -1
docs
LICENSE.txt
mfo
README.md
requirements.txt
Add configuraion values
Since the environment configuration file, .env, is not stored in git, create a new .env file in the project folder:
$ nano .env
Add the following contents to the .env file:
# .env

FLASK_SECRET_KEY = abcdFakeKey1234
FLASK_ENVIRONMENT = development
FLASK_EXPLAIN_TEMPLATE_LOADING = False
Test the initial application
To review how the project currently runs, create and activate a Python virtual environment, and install the requirements.
$ python3 -m venv .venv
$ source .venv/bin/activate
(.venv) $ pip install -r requirements.txt
Then, run the application:
$ (.venv) flask --app mfo.app run --debug
In a web browser, navigate to the URLs: http://localhost:5000 and http://localhost:5000/admin to see the simple pages served at each application route.
Stop the application using the CTRL-C key combination.
Add Flask-Security-Too
Flask-Security-Too implements a lot of functionality. It has its own way of doing things but it enables you to customize its functions, forms, and templates. For now, I will use its default functionality in the simplest way possible.
Install the Flask-Security-Too package
To install it, add Flask-Security-Too to the requirements.txt file. The new file will look like the following:
# mfo/requirements.txt

flask
python-dotenv
Flask-Security-Too[fsqla,common]
Flask-Security-Too also installs Flask-SQLAlchemy, Flask-Login, Flask-WTF, and other Flask extensions so you do not need to list them in the requirements file, unless you are pinning them to a specific version.
Then, install the requirements into the virtual environment, again:
(.venv) $ pip install -r requirements.txt
You will see pip installs many packages.
Add a database
Flask-Security-Too needs access to a database in which it can store user information. We need to add SQLAlchemy models to the application but, since we are using all the defaults, we can use the models provided by Flask-Security-Too.
Create a database folder named database.
(.venv) $ mkdir mfo/database
The database object, db
In that folder create a file named base.py that creates the Flask-SQLAlchemy database object.
$ nano mfo/database/base.py
This file uses the Flask-SQLAlchemy extension to set up the session factory and other functions as method of the database object.
# mfo/database/base.py

from flask_sqlalchemy import SQLAlchemy
from sqlalchemy.orm import DeclarativeBase


class Base(DeclarativeBase):
    pass

db = SQLAlchemy(model_class=Base)
We'll use the database object, named db, throughout our application.
The Role and User models
In the database folder, create a users.py file, which will contain the SQLAlchemy models.
(.venv) $ nano mfo/database/users.py
The users.py file will look like below:
from mfo.database.base import db
from flask_security.models import fsqla_v3 as fsqla
from flask_security import SQLAlchemyUserDatastore

fsqla.FsModels.set_db_info(db)

class Role(db.Model, fsqla.FsRoleMixin):
    pass

class User(db.Model, fsqla.FsUserMixin):
    pass

user_datastore = SQLAlchemyUserDatastore(db, User, Role)
By default, these model configurations are provided by the Flask-Security-Too classes, fsqla.FsRoleMixin and fsqla.FsUserMixin.
If you want to add more functionality, you may add more fields to the Role and User models and customize them with data relationships and other configurations. For now, though, we are doing the minimum.
Initiaize the Flask-Security-Too extension
Initialize the Flask-SQLAchemy extension and the Flask-Security-Too extension in the app.py file.
$ nano mfo/app.py
To initialize Flask-SQLAlchemy, import the base module you previously created and then run the db object's built-in init_app() method. To initialize Flask-Security-Too, import the Security class from the flask_security package and the import the user_datastore object from the users model, and then register them with the Flask app. The app.py file will look like below:
# mfo/app.py

import flask
from flask_security import Security

import mfo.home.views
import mfo.admin.views
import mfo.database.users as users
import mfo.database.commands
import mfo.database.base as base

def create_app():

    # Create app object
    app = flask.Flask(__name__)

    # Configure the app
    app.config.from_pyfile('config.py')

    # Register Flask-SQLAlchemy
    base.db.init_app(app)

    # Register Flask-Security-Too
    app.security = Security(app, users.user_datastore)

    # Register blueprints
    app.register_blueprint(mfo.home.views.bp)
    app.register_blueprint(mfo.admin.views.bp)

    return app
Now we have completed adding the infrastrcture of the Flask-Security-Too extension to our app. The next step is to actually use the functions Flask-Security-Too provides to establish role-based access controls on each of the application's pages.
Protect routes with Flask-Security-Too
Now we have set up Flask-Security-Too and we can use its functions in our application. We currently have two pages, a Home page and an Admin page. Let's set up the following authentication and access restructions for each page:
For the home page, require that users must log in before they can use the home page. users with either the User role or Admin role may view the page.
For the Admin page, require that only a logged-in user who has the Admin role can view the page.
Flask-Security-Too makes it easy to add simple requirements. It provides functions that can be applied as decorators.
The Home page
Open the mfo/home/views.py file and simply add a decorator to the home page route.
$ nano mfo/home/views.py
Add the the auth_required() decorator to the index view function. We want all roles to be able to view the home page, so we don't specify which roles are required. If you don't specify the roles that have access to a page, Flask-Security-Too will allow all logged-in users with any role to access that page.
The new mfo/home/views.py file looks like below:
# mfo/home/views.py

import flask
import flask_security

bp = flask.Blueprint(
    'home',
    __name__,
    static_folder='static',
    template_folder='templates',
    static_url_path='/home/static',
    url_prefix='/'
    )


@bp.route('/')
@flask_security.auth_required()
def index():
    return flask.render_template('/home/index.html')
You can see how simple it was to add authentication protection to a page.
The Admin page
The Admin page will require that a user be both authenticated and be assigned the Admin role. Again, using Flask-Security-Too is simple. Add the auth_required() and the roles_required() decorators to the index view function in the Admin blueprint's views module.
Edit the mfo/admin/views.py file:
$ nano mfo/admin/views.py
After adding the Flask-Security-Too decorators, the file will look like below:
# mfo/admin/views.py

import flask
import flask_security

bp = flask.Blueprint(
    'admin',
    __name__,
    static_folder='static',
    template_folder='templates',
    url_prefix='/admin',
    )

@bp.route('/')
@flask_security.auth_required()
@flask_security.roles_required('Admin')
def index():
    return flask.render_template('/admin/index.html')
Configuration
Flask-Security-Too offers a lot of functionality that is controlled with configuration variables. For example, you can turn different types of authentication on or off, and you can decide whether the extension will send confirmation e-mails or not.
The other packages that Flask-Security-Too uses also need configuration. For example, you need to configure the Flask-SQLAlchemy extension and may need to configure other dependencies if you use them.
The config.py file
To add the minimum level of user management functionaity, modify the config.py file:
$ nano mfo/config.py
The configurations in the config module comes from the Flask-Security-Too documentation. Some of the values are collected from environment variables and other values are hard-coded into the config module.
# mfo/config.py

import os
import dotenv

app_dir = os.path.abspath(os.path.dirname(__file__))
project_dir = os.path.dirname(app_dir)
dotenv.load_dotenv()

# General Config
ENVIRONMENT = os.environ.get("FLASK_ENVIRONMENT")
SECRET_KEY = os.environ.get("FLASK_SECRET_KEY")
EXPLAIN_TEMPLATE_LOADING = os.environ.get("FLASK_EXPLAIN_TEMPLATE_LOADING")

# Flask-Security variables
SECURITY_PASSWORD_SALT = os.environ.get("SECURITY_PASSWORD_SALT")
# The docs recommend SECURITY_ANONYMOUS_USER_DISABLED be set to True
# See: https://flask-security-too.readthedocs.io/en/stable/changelog.html#notes
SECURITY_ANONYMOUS_USER_DISABLED = True
# Allow new users to register new accounts
SECURITY_REGISTERABLE = True
# Disable e-mail confirmation of new users (because we don't have an e-mail server set up)
SECURITY_SEND_REGISTER_EMAIL = False

# Flask-SQLAlchemy variables
if ENVIRONMENT == "development":
    # In the development environment, use a SQLite database located in the project folder
    SQLALCHEMY_DATABASE_URI = os.environ.get("SQLALCHEMY_DATABASE_URI")\
        or 'sqlite:///' + os.path.join(project_dir, 'app.sqlite')
else:
    # For other environments, get the database URI from environment variable
    SQLALCHEMY_DATABASE_URI = os.environ.get("SQLALCHEMY_DATABASE_URI")

SQLALCHEMY_ECHO = os.environ.get("SQLALCHEMY_ECHO")
SQLALCHEMY_TRACK_MODIFICATIONS = os.environ.get("SQLALCHEMY_TRACK_MODIFICATIONS")
# The docs made the following recommendation to set the SQLAlchemy Engine Options
# See: https://flask-security-too.readthedocs.io/en/stable/quickstart.html#sqlalchemy-application
# See: https://docs.sqlalchemy.org/en/20/core/pooling.html#disconnect-handling-pessimistic
SQLALCHEMY_ENGINE_OPTIONS = {"pool_pre_ping": True}
The .env file
Next, in the .env file, assign actual values to the environment variables.
$ nano .env
I am using the .env file to store values that would not usually be stored in your source control system. For example, you don't want your real secret key to be stored in a public repository. I also could define in this file values that change depending on the app's environment. For example, you may have a different database URI for your testing environment and would want to be able to change that using environment variables.
Define the following values to support a basic development environment:
# mfo/.env

FLASK_ENVIRONMENT = development
# Generate a key using "secrets.token_urlsafe()"
FLASK_SECRET_KEY = LGBoUEDCCpgwxy5jZxpu9e01MTnRVqnG6A8ceD7Z4YU
FLASK_EXPLAIN_TEMPLATE_LOADING = False

# Flask-SQLAlchemy variables
# --------------------------
SQLALCHEMY_DATABASE_URI = ""
SQLALCHEMY_ECHO = False

# Flask-Security variables
# ------------------------
# generate a salt using "secrets.SystemRandom().getrandbits(128)"
SECURITY_PASSWORD_SALT  = 307680677384259925768439955171685999662
Add a custom command to create the database
The database needs to be created before the application can run. I chose to create a Flask custom command that will create an empty database from the models defined by Flask-Security-Too.
Create a new file named commands in the database folder.
$ nano mfo/database/commands.py
In that file, create a blueprint and some custom commands:
# mfo/database.commands.py

import flask
import flask_security
import click

import mfo.database.base as base


bp = flask.Blueprint('database', __name__,)

@bp.cli.command('create')
@flask.cli.with_appcontext
def create():
    base.db.create_all()
Custom CLI commands may be used to create more database initialization commands as the application grows. For example, when we have a lot of roles and permissions defined, we might want to create them all at once in a new database, instead of adding them one at a time using the Flask-Security-Too CLI commands. For now, we are doing the minimum to get an app started.
Next edit the app.py file:
$ nano mfo/app.py
Register the new commands blueprint in the application's app.py file, as shown below:
# mfo/app.py

import flask
from flask_security import Security

import mfo.home.views
import mfo.admin.views
import mfo.database.users as users
import mfo.database.commands
import mfo.database.base as base

def create_app():

    # Create app object
    app = flask.Flask(__name__)

    # Configure the app
    app.config.from_pyfile('config.py')

    # Register Flask-SQLAlchemy
    base.db.init_app(app)

    # Register Flask-Security-Too
    app.security = Security(app, users.user_datastore)

    # Register blueprints
    app.register_blueprint(mfo.home.views.bp)
    app.register_blueprint(mfo.admin.views.bp)
    app.register_blueprint(mfo.database.commands.bp)

    return app
Test the app
Now let's see the app work with user authentication and roles. we will create a development database, add some initial roles information and user configuration to the database, then run the app and try to access it using a user account and an admin account.
initialize the database
First, create an empty database using the custom CLI command:
(.venv) $ flask --app mfo.app database create
Add the Admin and User roles to the database
(.venv) $ flask --app mfo.app roles create Admin
(.venv) $ flask --app mfo.app roles create User
Then, add a user with the Admin role to the database and another user with the User role to the database.
(.venv) $ flask --app mfo.app users create [email protected] --password abcd1234
(.venv) $ flask --app mfo.app roles add [email protected] Admin
(.venv) $ flask --app mfo.app users activate [email protected]

(.venv) $ flask --app mfo.app users create [email protected] --password password1
(.venv) $ flask --app mfo.app roles add [email protected] User
(.venv) $ flask --app mfo.app users activate [email protected]
Log in as a user
Go to the app's home page at: http://localhost:5000/.
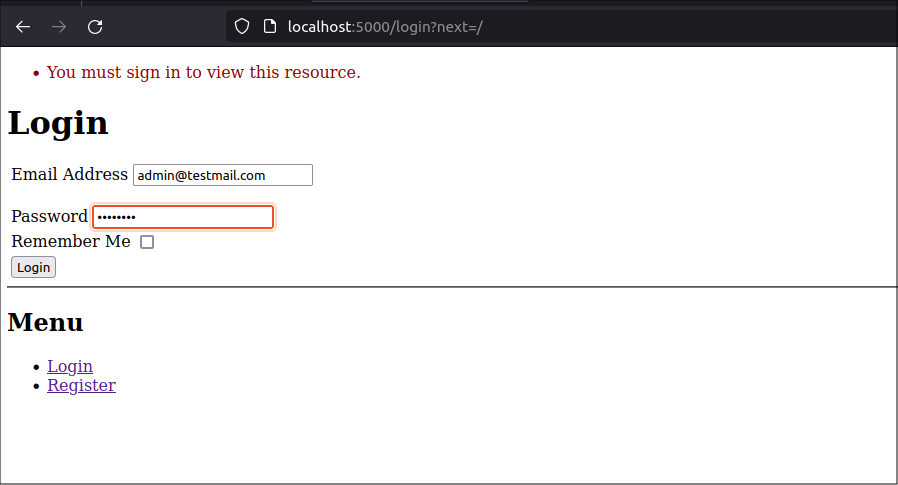
Flask-Security-Too will prevent you from accessing the page and will redirect you to the new /login route. You should see a screen that give you the option to login or register a new user.

You need to login. You could use either of the users you created in the database but let's start with registering a new user.
Click on the Register link on the Login page. Fill in the user's email and password and click the Register button:
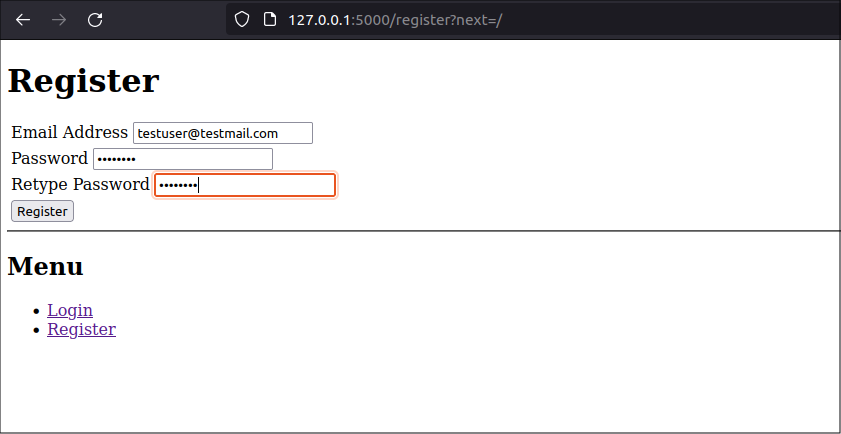
The new user is created and logged in at the same time and can now view the home page

Default user role not assigned
Actually, the user that the register page created has no role assigned. This still works because the home page only checks that the user is logged and does not require a specific role to view it. But this will be a problem as the app gets more complex and we have more views that check users' roles.
The new user registration process does not assign any roles. Some other procedure is required to assign a role to a user. To add a role to a user, you could:
- Write forms and functions that enable a user to select their own role after logging in for the first time, or write similar forms and functions that an Admin can use to assign roles to new users as part of the user onboarding process.
- Write a Flask-Security-Too event handler to assign a default role every time it sees the signal that a new user is registered.
- Use the Flask-Security-Too user-management CLI commands to add roles to new users. This option is not scalable and I do not recommend it even though I will use it, below.
For now, I will use a CLI command to add the User role to the user you created. In this case, I opened a new terminal window and run the following commands
(.venv) $ flask --app mfo.app roles add [email protected] User
Role "User" added to user "[email protected]" successfully.
Admin route
Now navigate to the /admin route and see that the user with the role "User" cannot view the Admin page because it requires the user have the Admin role:
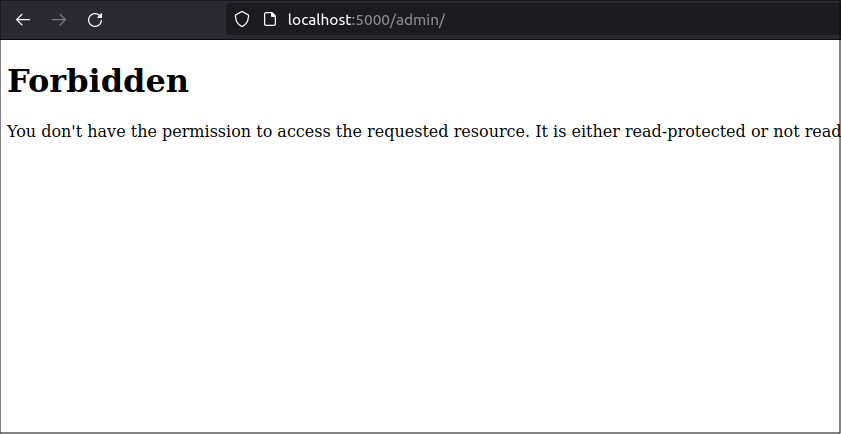
You got an HTTP 403 Forbidden error because the Flask-Security-Too extension detected your user did not have the Admin role.
Log out
You need to be an Admin user to view the Admin page. Log out the current user so you can log in as an Admin user.
To log out, go to the /logout route by typing http://127.0.0.1:5000/logoutin the browser's navigation bar. The logout route was provided automatically by Flask-Security-Too. This route will log you out and send you to the /login route.
Admin role
This time, login as the Admin user you previously created, [email protected]:
You will see the normal home page after you log in. Navigate to the /admin route by typing http://localhost:5000/admin into the browser search bar. Since you are now an Admin user, you should be allowed to access the Admin page.
Optional additions
At this point, you have successfully added Flask-Security-Too to your web app. You can make a few additional changes to make the app easier to user or set up.
Consider cleaning up any error pages you expect users to see.
And, consider pre-populating a new database with information needed by every install of the application. In this case, have the application add the roles used by the application to the database when you create it.
Handle error messages gracefully
A professional-looking web app should display useful error messages to help users. For example, if a user who does not have the Admin role assigned attempts to access the application's /admin route, the application should redirect that user to a page that explains the problem.
Add a Flask error handler to the Admin blueprint that catches the HTTP Forbidden (403) exception and renders a new template containing error information.
# mfo/admin/views.py

import flask
import flask_security
from werkzeug.exceptions import Forbidden

bp = flask.Blueprint(
    'admin',
    __name__,
    static_folder='static',
    template_folder='templates',
    url_prefix='/admin',
    )

@bp.route('/')
@flask_security.auth_required()
@flask_security.roles_required('Admin')
def index():
    return flask.render_template('/admin/index.html')

@bp.errorhandler(Forbidden)
def handle_forbidden(e):
    return flask.render_template('forbidden.html', role="Admin")
Place the forbidden.html template in the application's templates folder, so it can be used by any blueprint or view function.
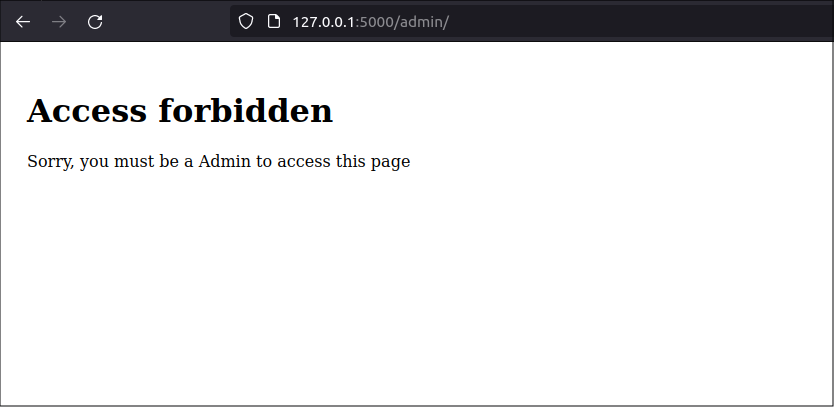
<!-- mfo/templates/forbidden.html -->

{% extends "base.html" %}
{% block title %}Access forbidden{% endblock %}

{% block content %}
    <div>
        <h1>Access forbidden</h1>

        <div>
            Sorry, you must be a {{role}} to access this page
        </div>
    </div>
{% endblock %}

{% block additional_css %}{% endblock %}
now, when a normal user tries to access the Admin page, they see a more professional-looking message:
Pre-populate some database information
The roles used by the application are fixed. They should be defined by the application, not by the administrator. So, I will build the roles configuration into the config.py file. Then, I will also have access to it in other modules without hard-coding role names.
In config.py, add a configuration for roles at the end of the file:
# Roles
ROLES  = {
    'USER': {
        'name': 'User',
        'description': 'Normal users',
        'permissions': { 'read', 'write' }
    },
    'ADMIN': {
        'name': 'Admin',
        'description': 'Administrators',
        'permissions': { 'read', 'write', 'database' }
    },
}
Then, in database/commands.py edit the create() function as shown below. Add code that reads the contents of the ROLES dictionary and adds it to the role table.
# mfo/database.commands.py

import flask

import mfo.database.base as base


bp = flask.Blueprint('database', __name__,)

@bp.cli.command('create')
@flask.cli.with_appcontext
def create():
    base.db.create_all()

    roles_dict = flask.current_app.config['ROLES']
    roles_keys = roles_dict.keys()
    for key in roles_keys:
        role=roles_dict[key]
        flask.current_app.security.datastore.find_or_create_role(
            name=role['name'],
            description=role['description'],
            permissions=role['permissions'],
    )
    flask.current_app.security.datastore.commit()
I used the find_or_create_role() method so the create_roles() function will not raise an error or overwrite database information if a role already exists.
While I do not use permissions in my application, yet, I added them in the database just to show how they work. They need to be inside a set.
Now, when you start the application with no database, you can create the database, prepopulated with Roles, by running the Flask CLI cmmand:
(.venv) $ flask --app mfo.app database create
The application structure
The new application structure is shown below. You can see that we added the database folder to support the SQLAlchemy configuration and setup.
music-festival-organizer
│
├── .env
├── requirements.txt
│
└── mfo
    ├── admin
    │   ├── static
    │   │   └── css
    │   │       └── styles.css
    │   ├── templates
    │   │   └── admin
    │   │       └── index.html
    │   └── views.py
    │
    ├── database
    │   ├── base.py
    │   ├── commands.py
    │   └── users.py
    │
    ├── home
    │   ├── static
    │   │   └── css
    │   │       └── styles.css
    │   ├── templates
    │   │   └── home
    │   │       └── index.html
    │   └── views.py
    │
    ├── static
    │   └── css
    │       └── styles.css
    ├── templates
    │   ├── forbidden.html
    │   └── base.html
    │
    ├── app.py
    └── config.py
Conclusion
I added role-based access control to my simple web app by integrating the Flask-Security-Too extension.
To do this, I installed the extension in my app's virtual environment and added a few lines of code in the app. The Flask-Security-Too extension brings a lot of functionality and I only implemented the simplest system.
I showed how Flask-Security-Too adds its own routes to the web app: /login, /register, and /logout. The extension provides many more helper functions. It is worth your time to explore everything this extension offers.